How to Fix a Sagging Headliner with EZ-Snap® Snaps
- A foam-backed vinyl headliner sags because the thin foam behind it has crumbled to powder, not because the vinyl fabric itself failed.
- Fresh glue rarely holds a sagging headliner for long because the new adhesive has only old, powdered foam dust to grab onto.
- Adhesive snap fasteners hold the liner mechanically at dozens of points instead of relying on one continuous line of contact cement.
- Mark a grid about 10 inches apart on the liner, punch each point through the vinyl, then transfer those marks to the roof above.
- Grind a shallow divot at each roof mark, bond a stud into it, then let the 3M adhesive set about 72 hours before snapping the liner up.
A foam-backed vinyl headliner does not sag because the fabric failed. It sags because the thin foam behind it has crumbled to powder, and there is nothing left holding the liner to the roof. Fresh glue rarely fixes it for long, because you are asking new adhesive to grab onto old foam dust. EZ-Snap solves it a different way: it holds the liner up mechanically, with no drilling and no messy contact cement smeared across the whole ceiling.
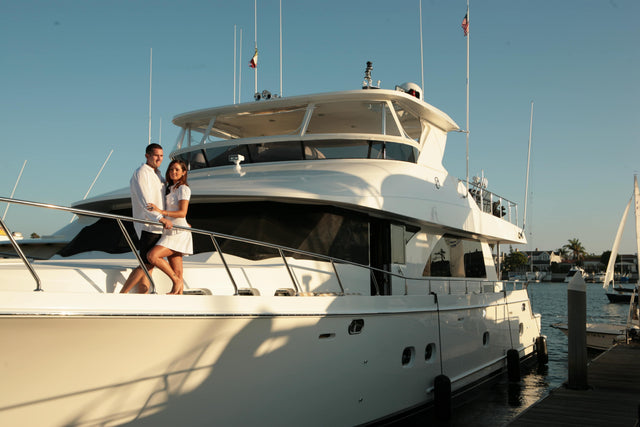
This is the method Marshall, a repeat EZ-Snap customer, used to bring the sagging headliner in his boat back to a tight, button-tufted finish. It works just as well in an RV, van, or car.
Why EZ-Snap works for a sagging headliner
EZ-Snap fasteners are a two-part system: a stud that bonds to a surface with 3M™ industrial adhesive, and a snap button that clicks onto it. For a headliner, you bond the studs to the hard roof structure above the liner, then snap the vinyl to them. The liner is held at dozens of points instead of relying on one continuous line of glue, so it stays up. The parts are plastic, so they will not rust in a boat or a humid RV, and the buttons can be unsnapped later if you ever need to get behind the liner again.

What you will need
- A felt marker and a pencil
- A flexible straight edge for marking a grid
- A 5/16″ leather punch
- A 1/4″ die grinder, or a small wire brush on a drill
- EZ-Snap adhesive studs and snap buttons
- Hidem strip for the seams, plus a staple gun or contact cement to hold it
Step by step
1. Mark a grid on the liner
With the liner pushed back up into place, use the flexible straight edge to mark a light grid on the vinyl, roughly 10″ between points. Those points become your snap locations.
2. Punch the snap holes
At each grid intersection, punch a clean hole through the vinyl with the 5/16″ leather punch. Reach through each hole with the felt marker and mark the roof above, so you know exactly where each stud has to land.
3. Open a seam and get above the liner
Take one seam apart and remove any hatch trim so you can reach the space above the vinyl. Expect to find powdered foam up there. Vacuum it out and wipe the area down.
4. Confirm your marks on the roof
With the liner dropped and the back side cleaned, check that the felt marks on the roof line up with your punched holes.
5. Grind a shallow divot at each mark
A fiberglass roof is only about 1/4″ thick, so go easy. Use the die grinder or wire brush to clean the foam off and cut a shallow divot at each mark. The divot gives the adhesive a fresh, keyed surface to grab. Re-mark each divot with the felt marker so you do not lose your points while you clean.
6. Bond the studs
Center an EZ-Snap adhesive stud over each divot and press it firmly in place, following the stud directions for surface prep. The 3M™ adhesive reaches full strength after about 72 hours, so let it set before you load it.
7. Snap the liner up
Push the vinyl back up over the studs and press a snap button onto each one. The liner pulls tight at every point and takes on a clean, button-tufted look.
8. Finish the seams
Cover the seams with Hidem strip. You can staple it to the fiberglass or hold it with contact cement.
The result
Instead of a headliner that keeps falling, you get one anchored at every snap that can still be taken down if you ever need to. Because the fasteners are plastic and there is no drilling involved, the same fix works in boats, RVs, vans, and cars. Not sure the fasteners suit your roof? Order an EZ-Snap sample and test the bond before you commit to the full repair.
Common questions
Why does a vinyl headliner sag?
A foam-backed vinyl headliner sags because the thin foam behind the fabric has crumbled to powder, leaving nothing to hold the liner against the roof. The fabric itself has not failed. That is why re-gluing rarely lasts: fresh adhesive is being asked to grab onto old foam dust.
How do EZ-Snap fasteners fix a sagging headliner without gluing the whole ceiling?
They hold the liner up mechanically instead of with a continuous line of glue. An adhesive stud bonds to the hard roof structure and a snap button clicks onto it, so the liner is anchored at dozens of points rather than relying on contact cement smeared across the ceiling. The result is a tight, button-tufted finish.
Do you have to drill into the roof to install the snaps?
No. The studs bond to the roof structure with 3M industrial adhesive, so there is no drilling involved. The parts are plastic, so they will not rust in a boat or humid RV, and the buttons can be unsnapped later if you ever need to get behind the liner again.
How long do you wait before snapping the liner up?
Let the studs set for about 72 hours before loading them. The 3M adhesive reaches full strength after roughly 72 hours, so bond the studs over a cleaned, keyed divot at each mark, then press the vinyl and snap buttons on once the adhesive has cured.
Does this repair work in an RV or car, or only a boat?
It works in boats, RVs, vans, and cars. The method was used by a customer on a boat headliner, but because the fasteners are plastic and there is no drilling, the same fix applies to any foam-backed vinyl liner. Not sure the bond suits your roof? You can order a sample and test it first.