How can we help you?
Measuring for EZ Snap RV Window Shades
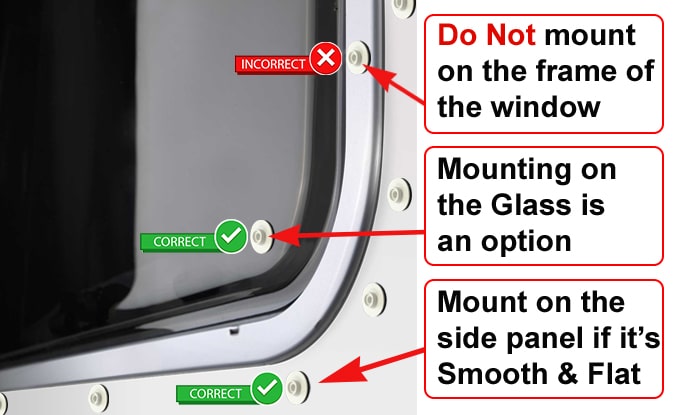
EZ Snap® Window Shades can be fastened to the side of the RV, just beyond your window frames.
If the sides aren’t smooth and flat, Adhesive Fasteners can be installed directly onto the window glass. Make sure that Fasteners will not be in the way of windows that slide open.
Determine Fastener Position
Mounting Surface for 3M Adhesive

Smooth, Flat and 1″ Wide
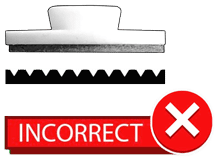
No Textured Surfaces

No Curved Surfaces
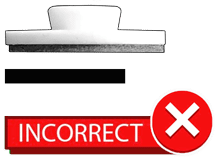
Too Narrow
What to Measure
For shading mesh width, measure from the center of left Fasteners, across glass, to the center of the right Fasteners, and add 1 to 2 inches.
For shading mesh height, measure from the center of top Fasteners, down across glass, to the center of the bottom Fasteners, and add 1 to 2 inches.
Tip: Distance between the centre of each Snap to the outside edge of the Shade Mesh must be minimum 1/2 inch.
Nested Layout
If installing Shade Mesh on multiple windows, use the “Cookie Cutter” or “Tetris” method to nest your various window sizes into the 72 inch tall Shade Mesh.
Windows can be rotated for the most efficient use of the EZ Snap® Shade Mesh with the least amount of waste.
Measure Twice, Cut Once
We recommend using the EZ Snap Kit Size Calculator to figure out the most efficient layout before you start cutting your Shade Mesh.