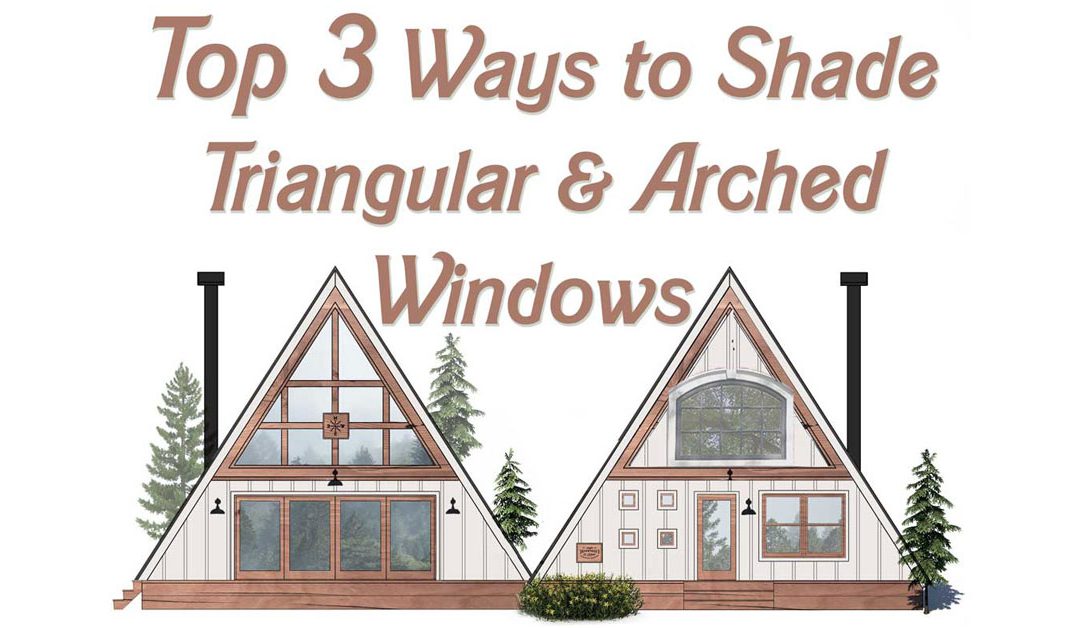
3 Best Ways to Cover Triangular or Arched Windows
Putting blinds or shades on triangular-shaped windows or arched windows can be expensive and difficult to do. Most typical blinds or shading products are designed to work with square or rectangular windows. Triangle-shaped windows are usually found on A-frame style homes, while rounded or curved arched windows (cathedral windows) are more common. With both triangular or arched windows, a shading or blind product is typically custom made, as there really is no common size for these windows.
Here are the 3 best ways to cover triangle or arched windows.
1. Custom Interior Blinds for Triangular or Curved Windows
There are many interior blind companies that will custom make an interior blind for arched or triangular windows. The benefit of these types of window shades is that you can have them match the rest of your interior shades. Because they have to be custom-made for your specific window, they are usually very expensive. Many times these interior blinds are made to permanently cover the window and usually do not open to let in light or see the view. Another downside to interior blinds versus exterior shading produce is that interior blinds are up to 7 times less effective at stopping heat than exterior shades. The main reason for this is because the interior blinds stop the heat on the inside of the window after the heat has already gotten into the house.

2. Painting Over the Triangular or Arched Window.
This solution is as simple as it gets.
Block the light, you will block the heat. Painting the glass of the window will stop light from getting through and will result in reducing the light and heat all for the cost of a can of paint.
The obvious downside with painting the glass is that it is a fairly permanent fix. This one is as simple as it sounds. The key to cooling a hot skylight is to stop the sun before it gets through the glass.
If you can block the light, you can block the heat. Painting over your skylight will stop light from getting through and will keep your house much cooler for just the cost of a can of paint.
The main drawback with painting your window glass is that it is a fairly permanent fix. Scraping paint off is time-consuming and you will most likely end up with scratches on the surface of the glass.
Be sure to first prime the window glass with a product like Zinnser Bullseye Primer

3. EZ Snap® Exterior Shading System.
The EZ Snap system is not only the least expensive option, but it has the added benefit of retaining your view. The EZ Snap shading mesh is an optical grade and so you are able to clearly see through them with a clear and undistorted view.
The EZ Snap sunscreens block up to 90% of the sun’s heating rays while letting in 10% of the full-spectrum sunlight. This is great for plants that need some diffused light and it also provides sufficient ambient light in the room.
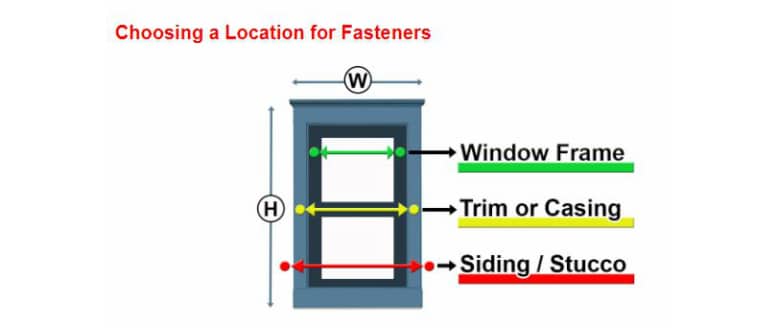
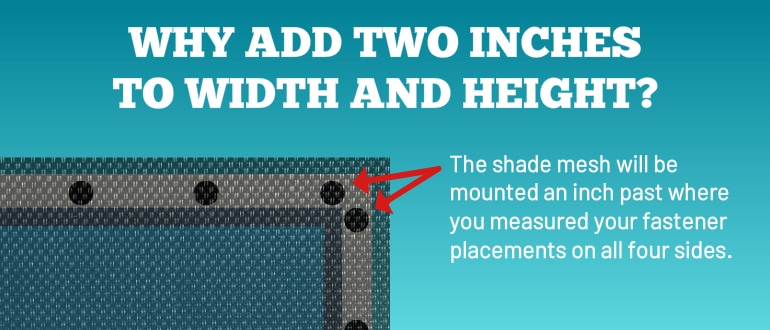
The magic that makes this such a great option for these odd-shaped windows is the fact that the EZ Snap heat blocking mesh is a non-fray material. This feature is what allows you custom size and shape the shades on-site for a perfect fit every time. The patented EZ Snap system features this special encapsulated weave that can be easily cut with a sharp pair of scissors without the need for hemming the edges.
Whichever method you choose to cover your odd-shaped windows remember that the US Department of Energy concluded that exterior blinds and shades are up to seven times more effective at stopping heat from entering the home than interior blinds or window tinting.