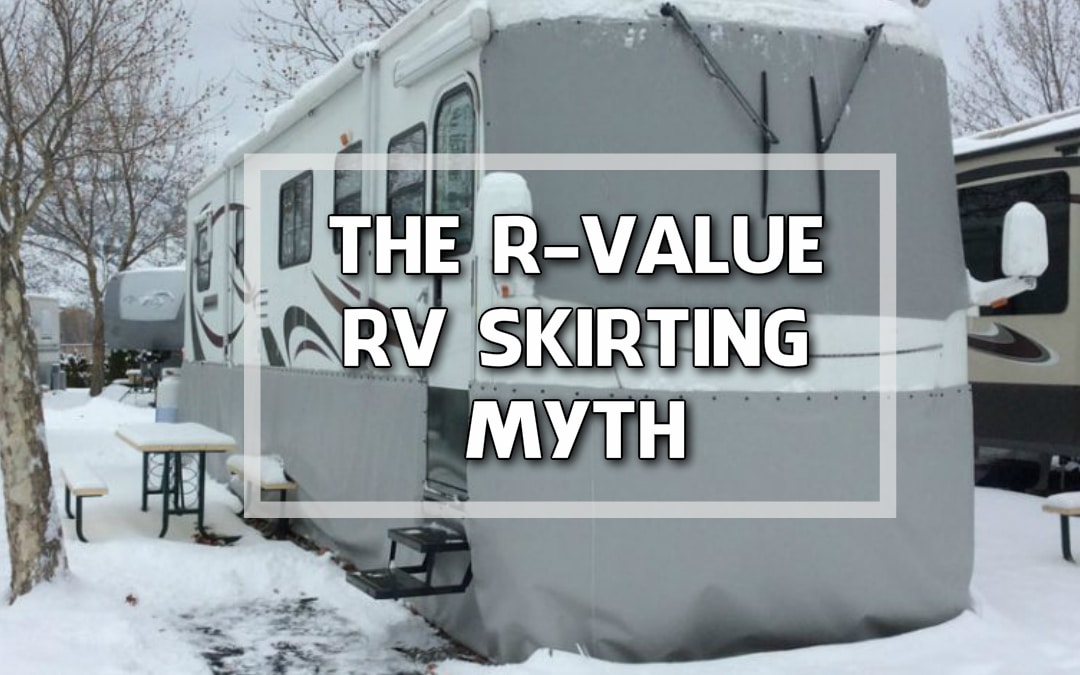
Why You Don’t Need an R-Value for RV Skirting
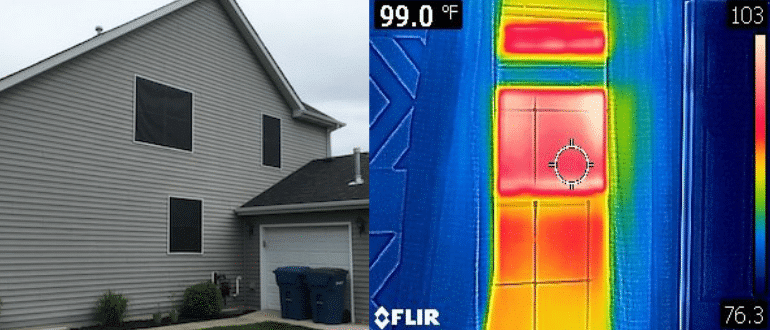
1. Any R-Value savings are much smaller the closer the outside temperature is to the inside temperature.
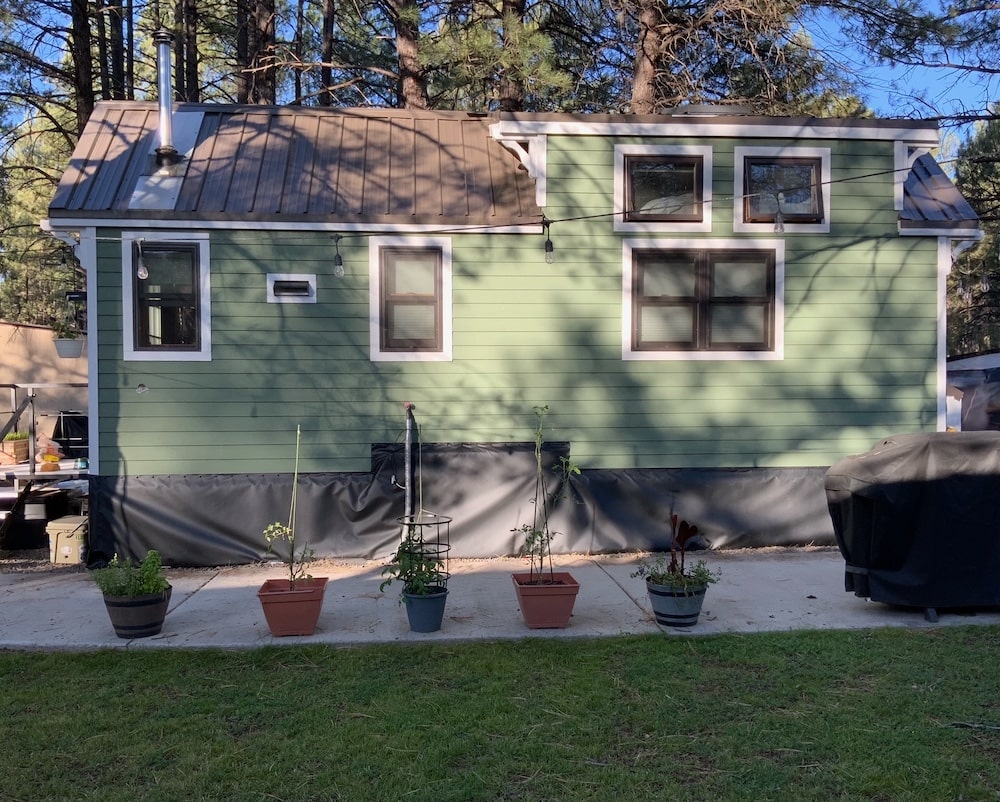
When the temperature dips below zero, the area under an RV is typically kept just above the freezing point by an electric heater. Because of this, the temperature differential between outside and inside air is very small, as is the heated cubic square footage under the RV. This is unlike a house, where inside temperatures are typically kept at 70 degrees or more and where the cubic square footage is about 2500% larger than that of an RV’s.
2. RV skirting would need to be very thick to produce any significant energy savings.
R-Value is the resistance to heat flow through a given thickness of material. For example, a typical home in the USA has wall insulation of R-11 to R-15. Your RV Skirting would need to have a sewn-in insulation that is 4 to 5 inches thick to achieve this R-value. Most RV Skirting that claims to be insulated is less than a half an inch thick. At this thickness, there is only the illusion of an R-value.
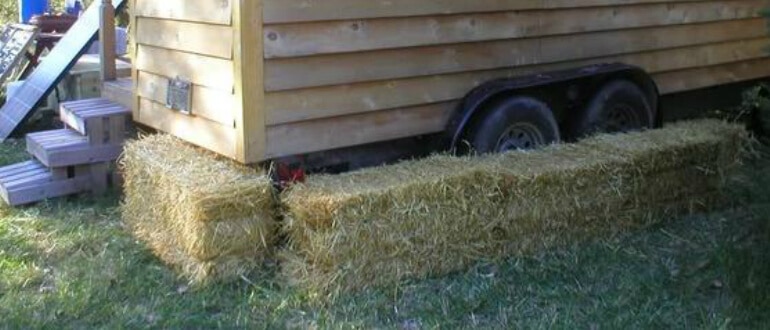
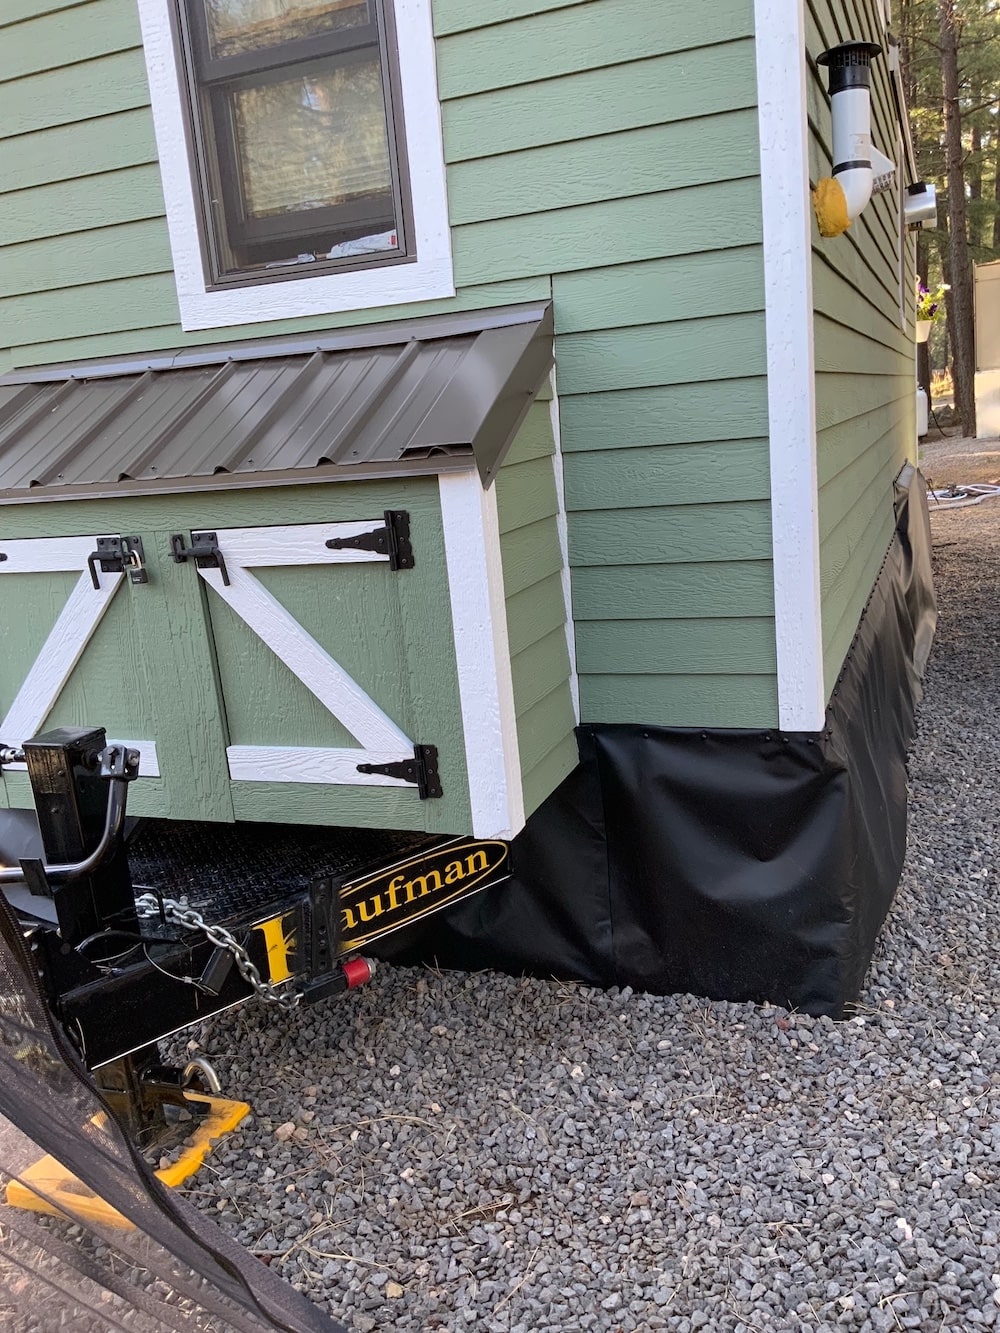
3. Stopping air movement is 10 times more important than R-Value for RV skirting.
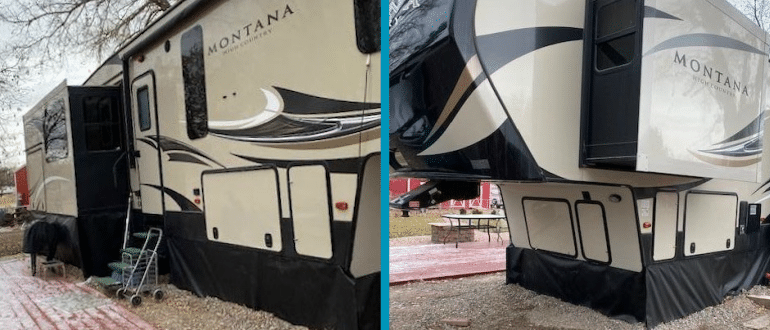
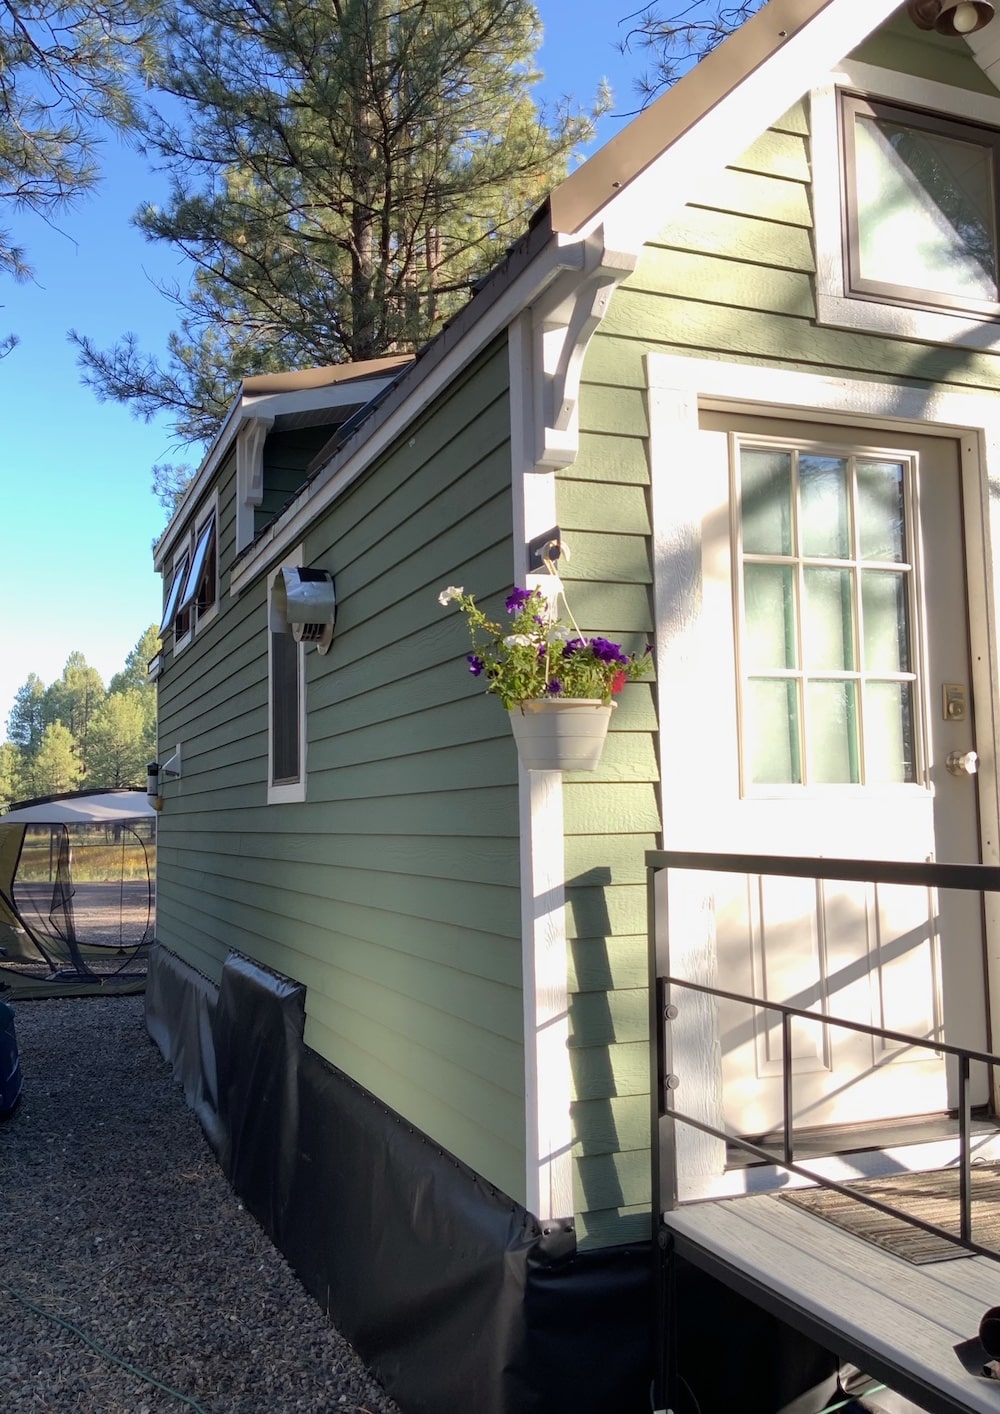
What good is wearing a winter coat if you have the zipper undone? The most important way to retain heat and keep cold air out is a barrier to air-flow (RV Skirting), not insulation. As long as the warm air is contained under the RV and the majority of the cooler outside air is kept out, adding insulation to the skirting is a waste of money. The barrier to airflow created by the skirting is really all that is needed.
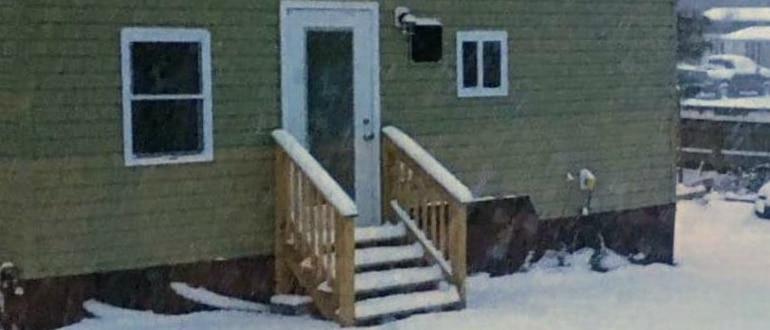
4. If you are in an extreme winter climate what is the best way to add R-Value to your skirting.
As mentioned above, the sewn-in variety of insulation (ie: Poly-fill or reflective bubble wrap) adds very little value to RV skirting and is not necessary in 90% of RV skirting projects. The exception to this rule is if the RV is wintering in an extremely cold area where temperatures are commonly 15 degrees or more below freezing. In this situation you will want to have both RV skirting and an insulated barrier of rigid Styrofoam board. Rigid Styrofoam insulation board is by far the most effective way to get a higher R-value without adding a lot of thickness.
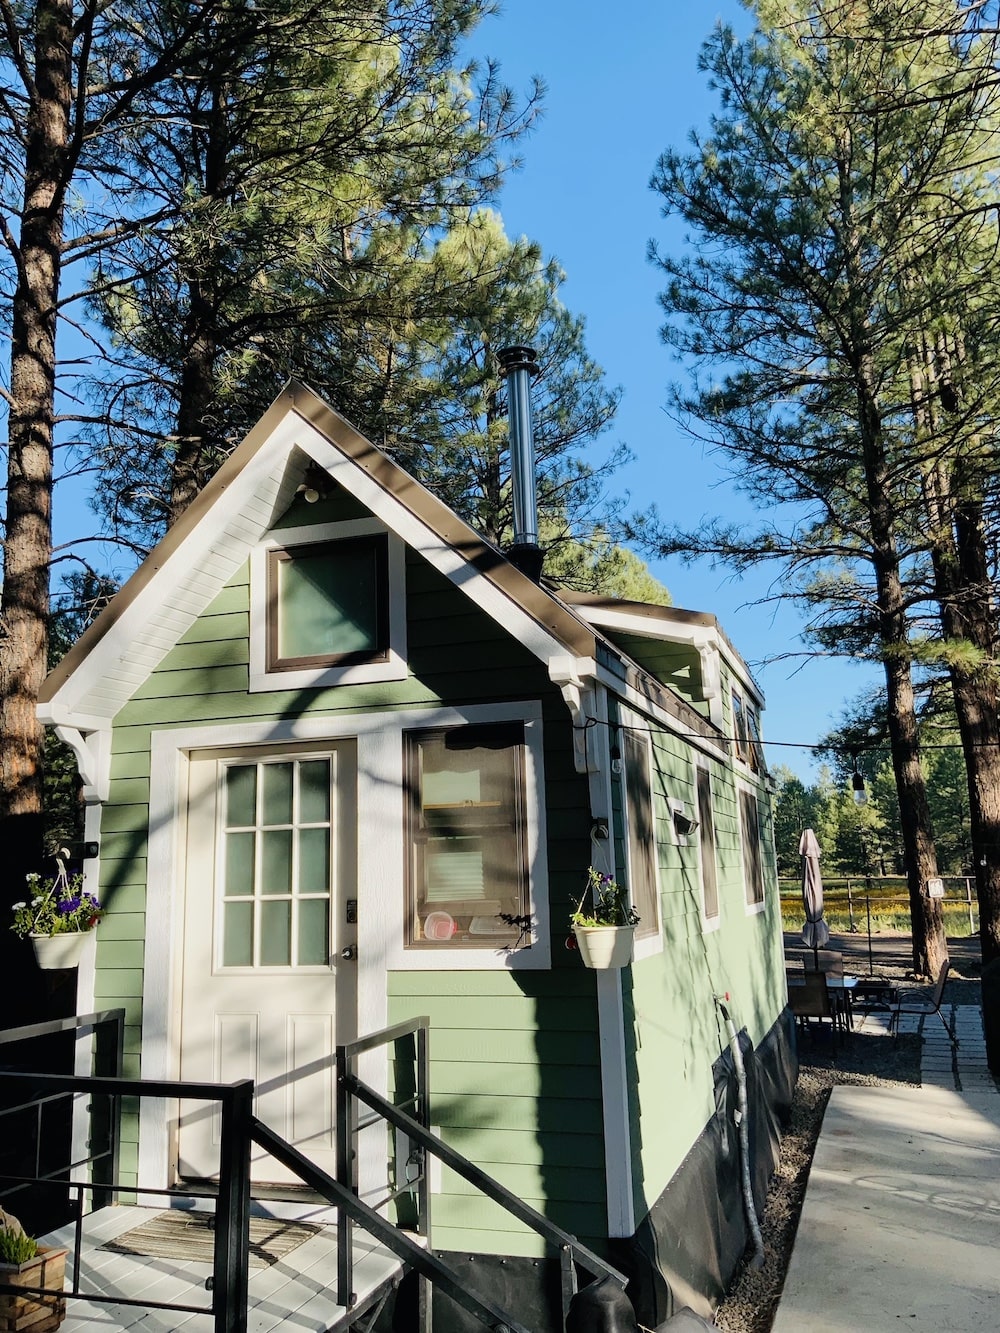
Typically this board has an R-value of R5 per inch of thickness. The best variety of this board is extruded polystyrene foam board, also called blue or pink board in the big box stores. To use this board with your skirting, build a frame work under the RV using inexpensive 2” x 2” lumber, then attach the foam board to the framework. Once the foam board is in place, then you can install your RV skirting to seal the warm air in and the cold air out.
5. The best heat source to use under your RV skirting.
In warm climates many RV’ers use a 100 watt light bulb to create a heat source, but there is a much safer and efficient way to heat the area under your skirting . Use one or two thermostatically controlled space heaters with a built-in fan under the RV. In longer RVs, place a heater at each end of the RV facing the opposite end. Turn the thermostat control to just above the point of freezing. When the temperature dips down close to the freezing point, the heaters come on and blow warm air around the entire area underneath the RV. This is a very safe and efficient heat source, as it is only using energy when needed. Be sure to see the heaters we recommend on the EZ Snap RV skirting product page at https://ezsnapdirect.com/products/rv-skirting/.


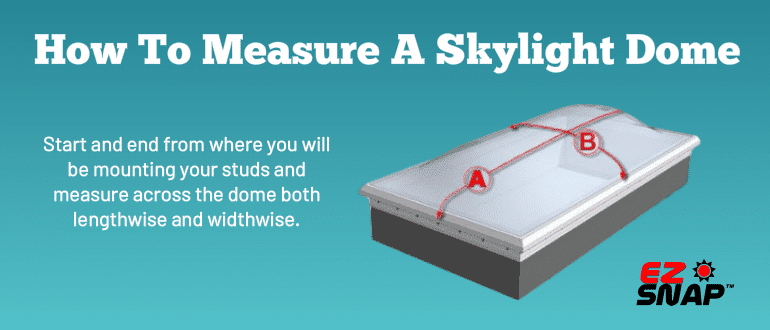


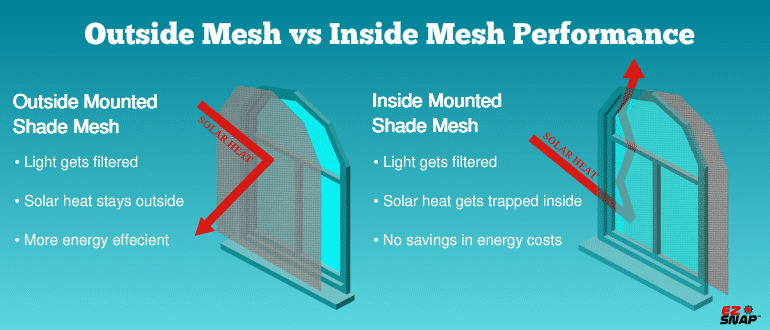


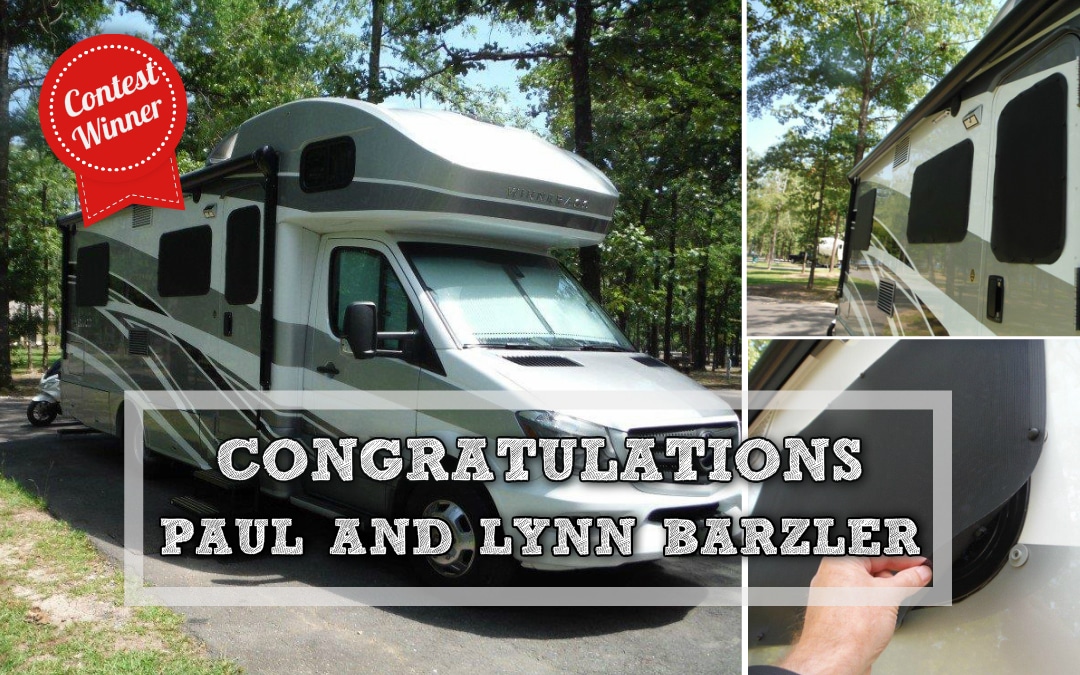
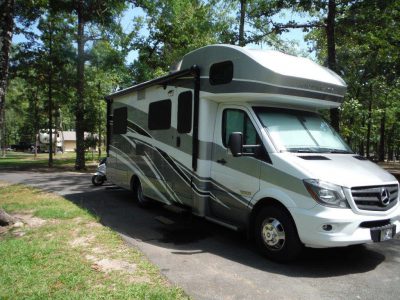
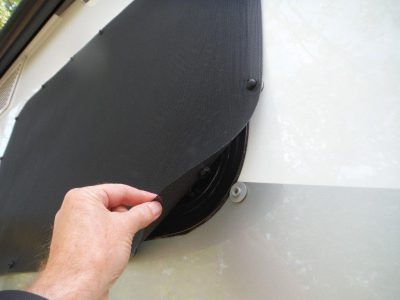
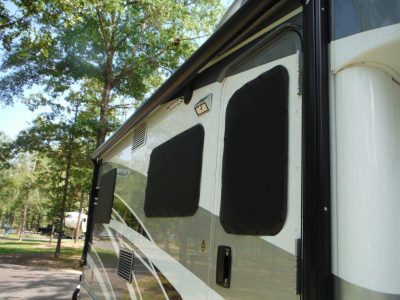


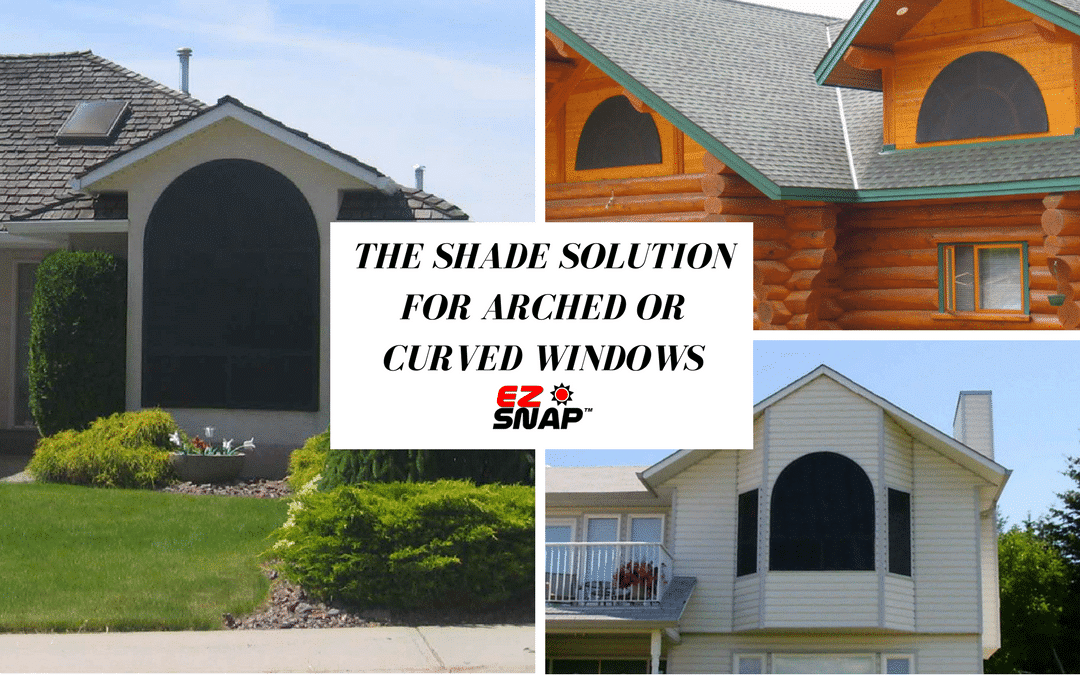
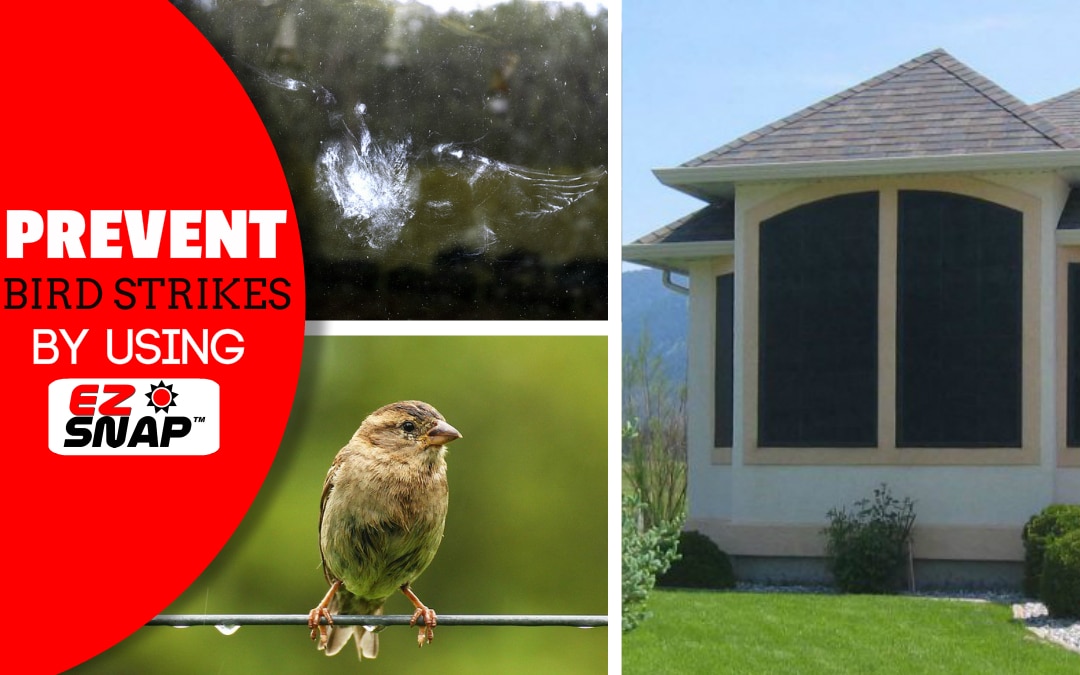
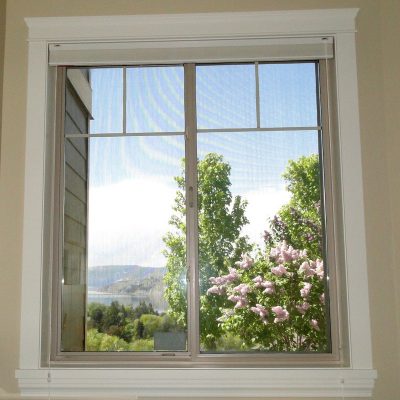
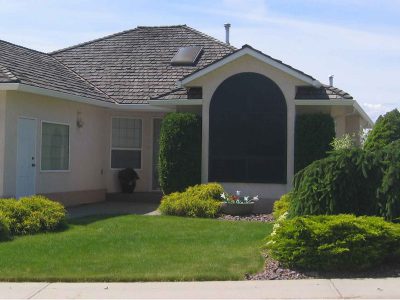 EZ Snap Innovations has developed the perfect solution to providing shade to any shape of window, curved, arched, or even round.

 EZ Snap is now on Twitter.
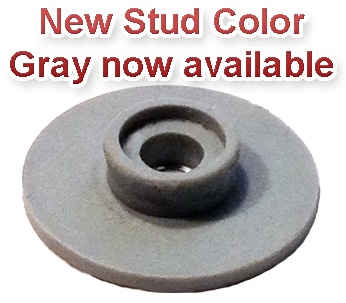 We have just added the color gray to our line of EZ Snap adhesive studs.
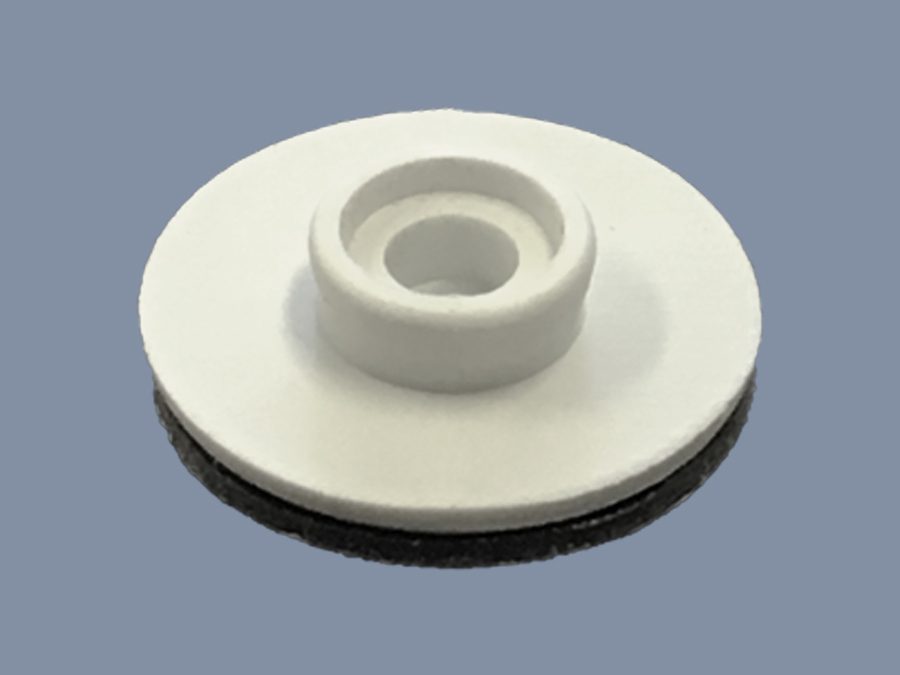
 We have worked with 3M™ on this stud to ensure that it will stand up to extremely hot or cold temperatures, as well as severe winds. As always, this