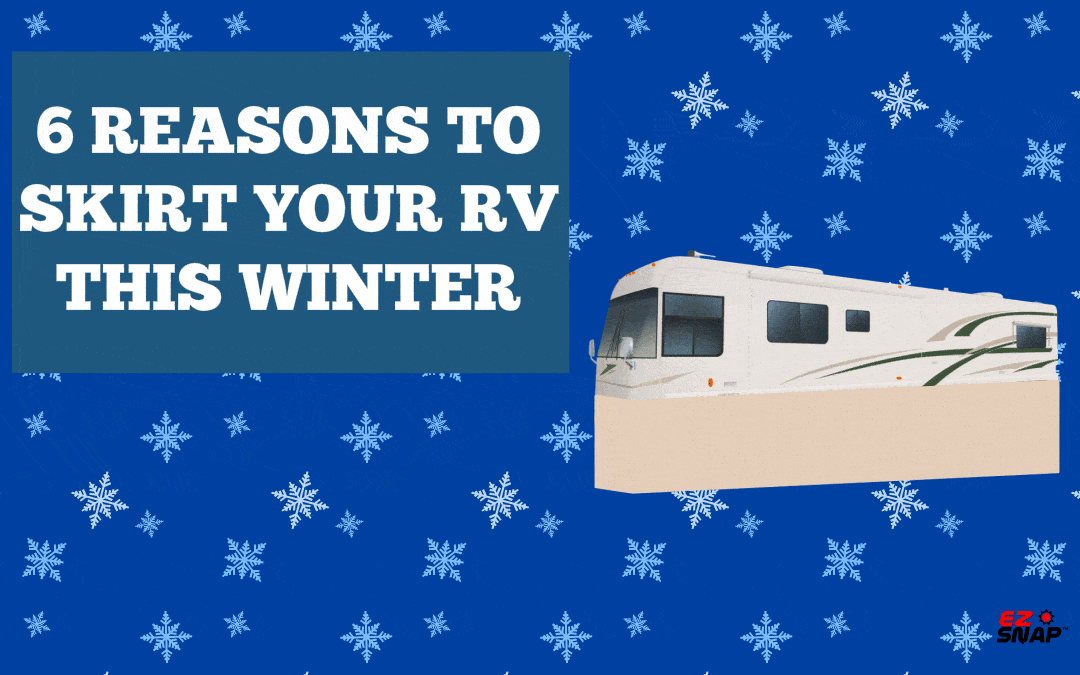
6 Reasons To Skirt Your RV This Winter
What’s the best way to keep my RV from freezing?
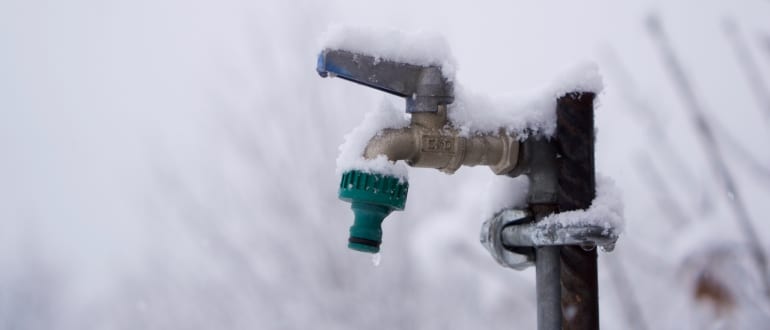
If you are going to winter in your RV and there is any risk for freezing temperatures, you are going to have to take extra steps to protect your rig.
Specifically, it is your pipes and tanks that will need added protection as they are the most vulnerable during a freeze.
The only exception is if you have an RV that comes with a four season or all weather package option.
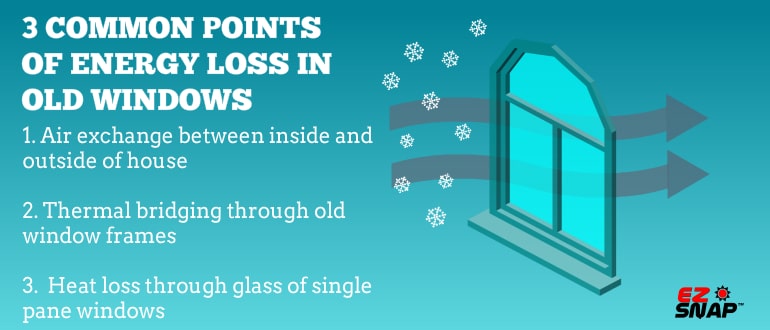
These RVs have been modified to be able to withstand colder temperatures with options like enclosed tanks, thicker insulation, double pane windows and more.
However, there is no set industry standard for what makes an RV all weather or four season.
Some are built better than others, which means there are some all weather RVs that are not actually able to withstand freezing temperatures.
Unless you really know what you’re getting, you might not know if your RV was able to survive a cold winter until it was too late.
So even if you have an RV with an all weather package, you still may need to take extra precautions to prevent your rig from freezing.
And if you are like the majority of RV owners and don’t have one made for cold weather, you will definitely need to protect your RV.
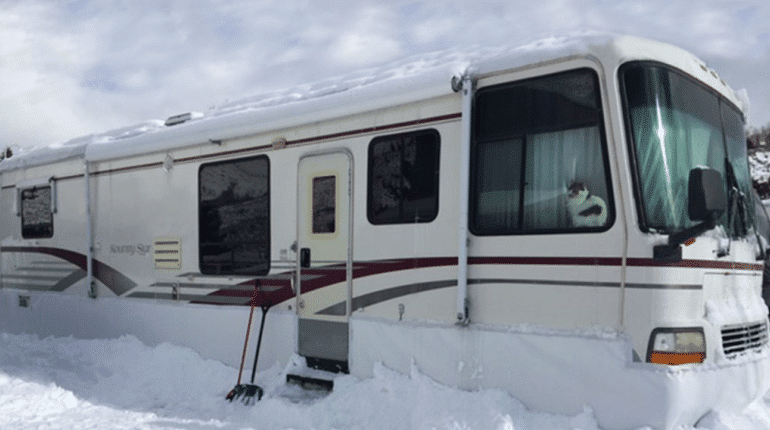
If that sounds like you, then there is nothing you can do for your rig that is more important than skirting it before a freeze hits.
Skirting an RV means using a material to seal off the undercarriage.
RV skirts are not something that typically comes with an RV, so it has to be purchased and installed at the discretion of the owner.
If you are undecided about making the leap to get your RV skirted, here are the most important reasons why it’s a wise investment for you:
1: RV Skirting will protect your pipes and tanks
Your RV’s plumbing is what is going to need the most protection in cold weather.
If your pipes are exposed to the elements and the temperature dips below freezing, they are in danger of freezing.
If there’s any water in them they may burst, as water will expand before it freezes solid.
If your pipes burst, it can be very expensive to fix depending on the extent of the damage.
It would also mean going without water until everything was fixed.
Skirting your RV is the best way to protect your pipes and tanks from freezing.
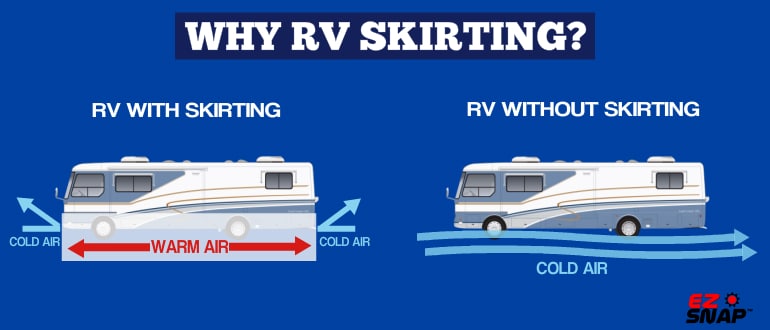
The main function of skirting is to separate the air column underneath your RV.
If you can seal off the air underneath your RV from the air outside, you can warm up the enclosed air and it won’t dissipate.
The easiest and best way to keep things warm inside the skirting enclosure is to have two temperature controlled heaters on either end facing each other (use the kind that has a tip sensor so that if it does fall over, it will automatically shut off).
Also, save some hassle and invest in temperature monitors, so you can always know what the temperature is underneath your RV without having to crawl underneath to check.
2: Stay warmer and more comfortable
It goes without saying, but if the underside of your RV is warmer, the inside will be warmer too.
By keeping that air column under the RV separated and warmer, you gain an extra layer of insulation under the rig.
It works on the same principle as double pane windows.
By separating the air and sealing it off, it creates an air pocket that stops the cold from being transferred.
Your RV stays warmer and so does your floor.
3: Save on propane
A nice byproduct of protecting your RV with skirting is that as your RV stays warmer easier, you will end up spending less on propane.
Most RVs run furnaces on propane and chances are that you or someone you know has spent a winter or two going through propane tanks like water just to stay warm.
Add up enough tanks over the winter and it can get expensive.
Installing skirting will cut that cost down. Add that up over years and it can be a significant savings.
4: You can still use your tanks
If you’ve ever had to carry your own water to your RV multiple times a day, you know how much of a hassle that can be.
Trudging through the snow, carrying heavy jugs of water is not how anyone wants to spend the winter.
If your RV’s undercarriage is kept warm enough then you won’t have to worry about your tanks freezing.
However, there are some alterations that you will need to do to still be able to use your pipes and tanks.
For your water line, you will need to use either a heated hose or apply heat tape and insulation to your current hose.
Your also need to heat and insulate the spigot and any water supply piping as well, as that can freeze too.
Your own water connection will need to be heated as well. If it’s on the exterior of the RV then it will need to be insulated and heated.
If you have a wet bay it will need protection as well.
Some RV’s have a warm air duct that goes into the wet bay, which may be all you need.
If you have no such feature, you may want to use a small temperature controlled heater to keep everything from freezing.
The last area that will need to be protected is your sewer line.
Change out your hose, which can become brittle if it gets cold enough, and purchase a PVC pipe.
Heat and insulate the pipe to keep everything moving, and only dump your tank when necessary.
Now you won’t have to worry about making treks through sleet and snow just to use the bathroom.
5: Extra storage
Storage is a premium for any RV full timer, and one of the side benefits of skirting is that you can now use the underbelly of your RV for storage.
If you have a 5th wheel and skirt the hitch area, you instantly create a large storage area that’s perfect for all your summer toys.
If you order the EZ Snap 5th Wheel Hitch enclosure with the zipper door option, getting access to your hitch area is super fast and easy.
6: Tire protection
Something that doesn’t get mentioned enough with RVs is how important it is to protect your tires.
One of the most common problems for RVs that don’t get moved very often is that their tires can get dry rot.
Dry rot is when the tires dry out and crack, making them unsafe.

One of the reasons dry out occurs is because there are compounds in the rubber that get released as the tire is used that keep it supple.
When a tire sits in one spot for an extended period of time and is exposed, it can dry out and reduce it’s lifespan significantly.
However, if a tire is covered and protected from UV and the elements it can slow that process down.
Skirting your RV covers your tires and in the process will help extend their life.
What to use for RV skirting?
The good and bad news is that there are no shortage of RV skirting options available on the market.
This can mean spending a lot of time doing research online and still not know if you’ve picked the right kind of skirting.
And if you want to build your skirting yourself, there’s no real consensus on the best materials to use.
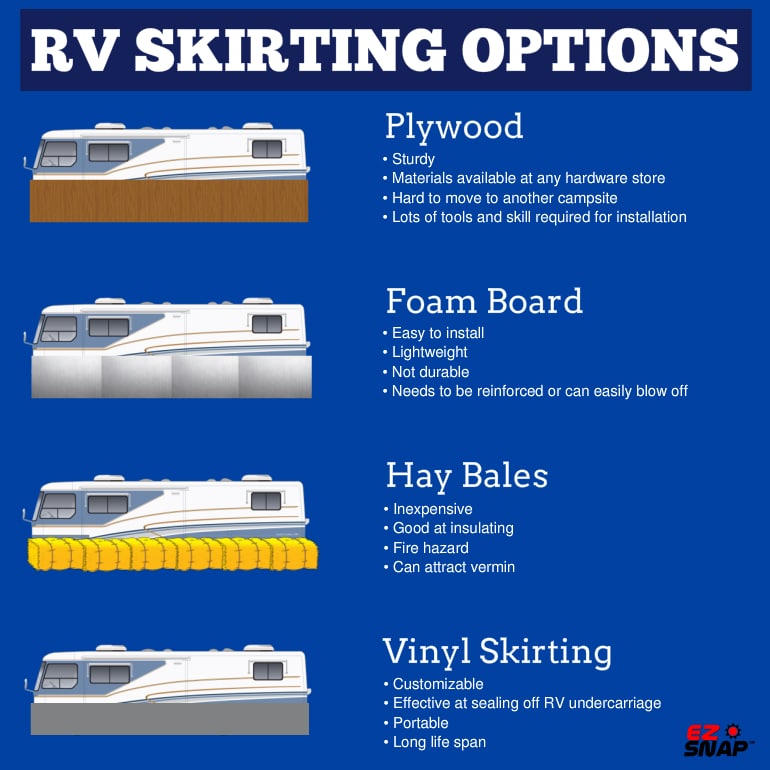
One of the most popular choices is plywood, as it’s fairly inexpensive and sturdy.
It has some drawbacks though.
It’s big and heavy, so it’s the kind of thing you would probably have to leave behind if you were to move your RV to another site.
Some RV campgrounds have rules against using plywood as skirting (as well as other materials, so always double check before committing to any skirting option).
Plywood also doesn’t flex and because it sits right up against the RV, it can scratch the exterior as the RV moves.
Two other common DIY RV Skirting options are hay bales and rigid insulation panels.
These can work depending on your situation, but they both have their flaws.
The hay bales are a serious fire hazard, can attract vermin and are only usable for one season.
Rigid insulation is like plywood in that it can be an effective solution, but because it’s so light it needs to be attached to a frame or it can easily blow away.
The practical solution for most RVers is to buy vinyl skirting.
It’s lightweight, adjustable and portable, so it can be rolled up and taken with you.
There are a lot of different RV vinyl skirting options to choose from.
There are companies that will build you a custom skirt. These are usually made on site, with the RV right there to make sure everything fits just the way it should.
The biggest drawback of these skirts is that they can be very expensive, running into the thousands of dollars.
Turnaround time is also slow, with bookings having to be made months in advance.
The option that offers the best in performance, portability and price is EZ Snap RV Skirting.
Using the RV Skirting calculator that’s on the site, you can quickly find out what size kit you need for your RV and how much it will cost.
The kits ship quickly, so there’s no need to panic if you weren’t prepared for an early winter.
It will fit any make, model or class of RV, Motorhome, Travel Trailer, Airstream and even tiny homes.
EZ Snap is made to be able to be installed by anyone, no matter your skill level.
Because you are doing the installation, you also save significantly on what it would cost for the labor for a custom skirt.
And once winter is over, all you have to do is unsnap it, roll it up and store it away for next year.
No matter which skirting option you choose, remember that it may seem like a large investment, but the cost and hassle of having broken pipes and tanks far outweighs the cost of skirting.
While not traveling in your RV, the use of RV covers is highly recommended to keep your RV protected from the elements. Keeping rain, damaging UV rays, dust, dirt and anything else the wind can carry, off your vehicle.

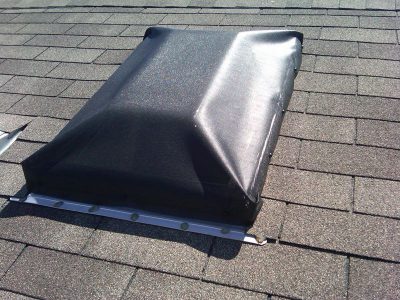
 fix that is by far the cheapest of all your options. Simply buy a blue tarp that is several feet longer than your skylight. Lay it over top of the skylight so that it is completely covered and pin down the excess fabric using bricks. It’s a fast, cheap, and easy skylight cover.