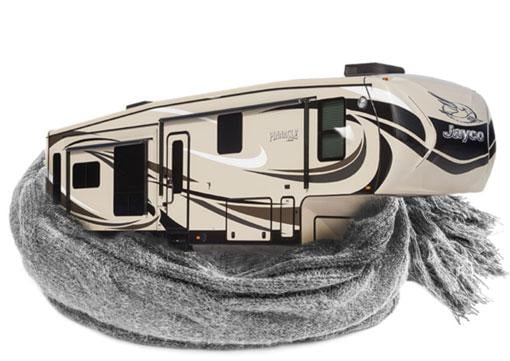
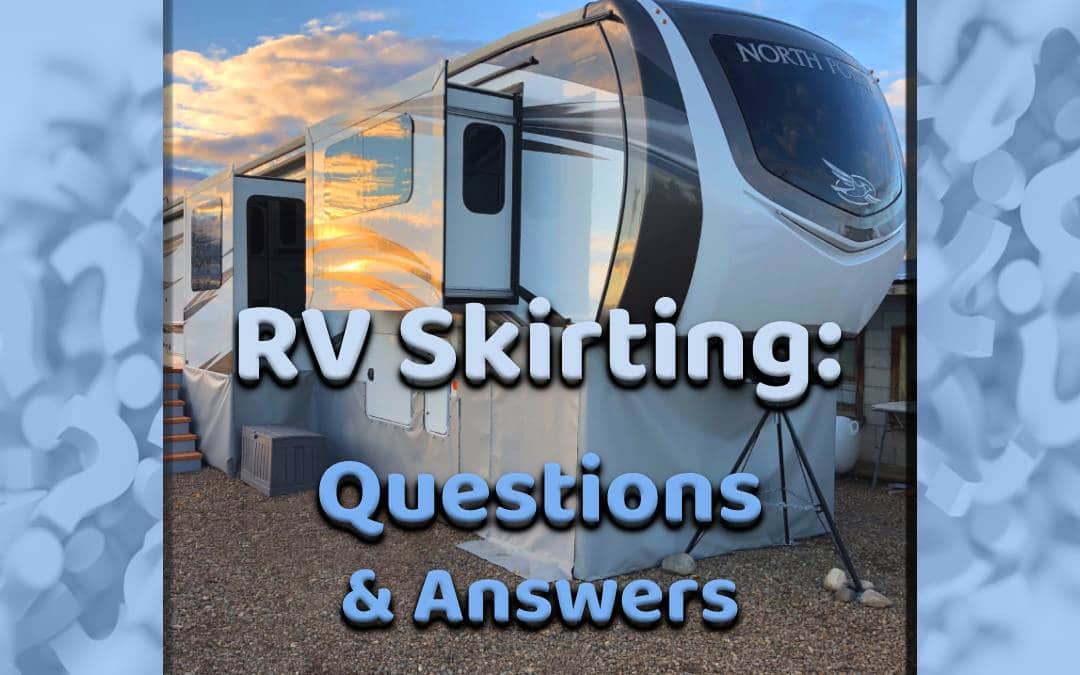
RV Skirting: Maximizing Comfort and Efficiency on the Road
RVs present a fun, practical, and cozy way to travel and explore the outdoors while enjoying many home comforts. They are, however, difficult to maintain, especially in severe weather. RV skirting is a wise investment that can help with these issues by offering insulation, keeping out unwelcome pests and debris, lowering energy costs, and improving the comfort level of your RV. In this article, we’ll go through the advantages of RV skirting and give you the knowledge you need to properly select, install, and maintain the ideal skirting for your vehicle and individual requirements.
Benefits of RV Skirting
- Improved Insulation. RV skirting is a barrier to prevent cold air from transferring from the ground to the RV’s underside, lowering heat transfer and greatly enhancing the RV’s insulation value. This function is especially important during harsh weather, such as the frigid winter. RV skirting may keep an RV warm, preventing the freezing of water pipes and the need for heating systems, which lowers energy use and costs.
- Reduced Energy Bills. By improving insulation, RV skirting can reduce energy bills and the need for heating or cooling systems. RV skirting can also prevent the loss of cool air in the summer, ensuring that the RV remains comfortable even in hot weather.
- Protection from Pests and Debris. Rodents, insects, and other pests are deterred from entering RVs by RV skirting, which serves as a barrier. Moreover, RV skirting can prevent dirt, rocks, and other debris from building up underneath the RV, lowering maintenance needs and ensuring the RV stays sanitary.
- Increased Comfort and Living Space. RV skirting can provide additional living space by enclosing the RV’s underside. This feature can be handy when the RV is parked for an extended period, providing a physical barrier for temporary storage underneath your RV
Types of RV Skirting
- Hard-Sided skirting. Hard-sided skirting is often constructed from solid and lightweight materials like PVC, fiberglass, or aluminum. It offers a secure and semi-permanent barrier around the RV’s underside, shielding it from the weather and vermin. Hard-sided skirting can also improve insulation, reducing energy consumption and costs. However, hard-sided skirting can be more expensive than other types. The installation process can be complicated, requiring specialized tools and skills.
- Soft-Sided skirting. Soft-sided skirting is typically made of flexible materials like vinyl or treated canvas. It offers an affordable and adaptable substitute for hard-sided skirting, enabling RV owners to change the skirting’s height or remove it entirely. Soft-sided skirting is a standard option for RV owners because it is simple to install and store. Yet, compared to hard-sided skirting, soft-sided skirting is less robust. It may require more maintenance to prevent damage from weather and pests.
- DIY Skirting allows RV owners to create skirting using readily available materials, such as plywood or foam insulation. DIY skirting can be a cost-effective and customizable option, allowing RV owners to adjust the skirting’s size and shape according to their needs. However, DIY skirting requires some skills and tools to build and install. It may provide a different level of insulation or protection than other types of skirting. Still, DIY will inevitably be the least expensive option.
Choosing the Right RV Skirting
- Material. RV skirting is available in various materials, including vinyl, fabric, and insulated options. Vinyl is the most common material for RV skirting due to its durability and weather resistance. However, fabric options are also available, which can be more breathable and flexible. Insulated options are ideal for cold climates as they help to retain heat and keep your RV warm.
- Size. Ensure you measure your RV carefully before purchasing an RV skirting kit. The skirting should fit snugly around the base of your RV to provide optimal insulation.
- Ease of Installation. RV skirting should be easy to install and remove, especially if you plan to move your RV frequently. Look for skirting with complete installation instructions, and consider purchasing skirting with quick-release buckles or snaps for easy removal.
- Cost. RV skirting can be pricey, exceptionally if you choose an insulated model. But, making a long-term financial investment in high-quality skirting can save you money by lowering your heating and cooling expenses. Compare the prices and quality of different options to find the best one that fits your budget.
- Climate. Consider the environment you will be camping in when choosing your RV skirting. If you plan to camp in colder climates, the insulated skirting will be your best option to keep your RV warm. A breathable fabric skirting option may be more suitable if you camp in warmer temperatures.
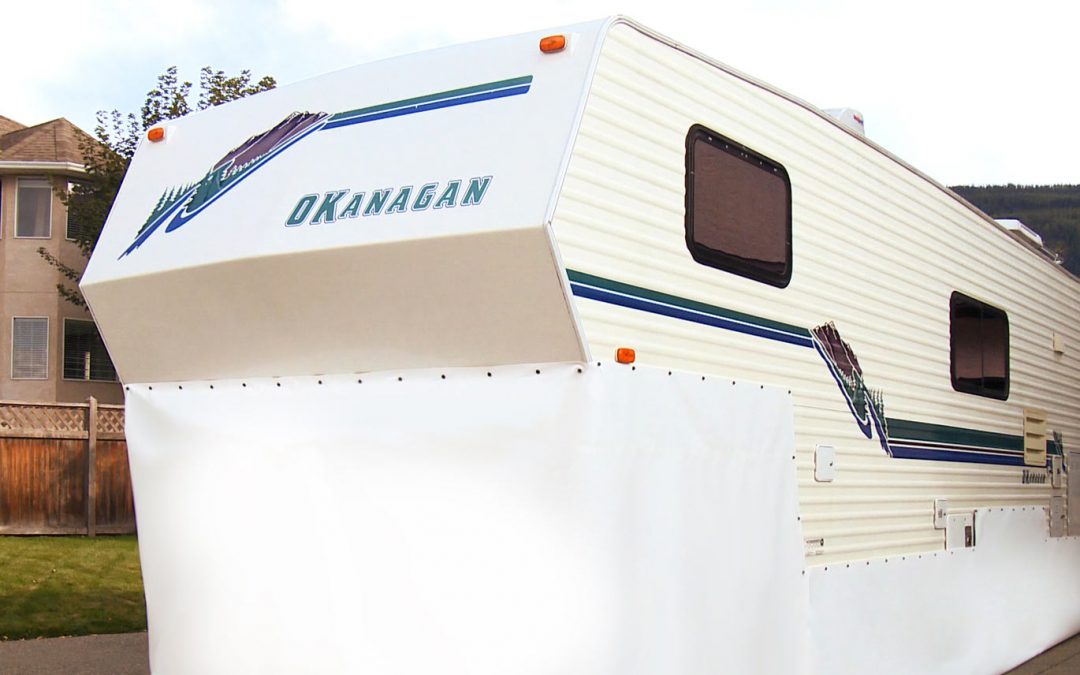
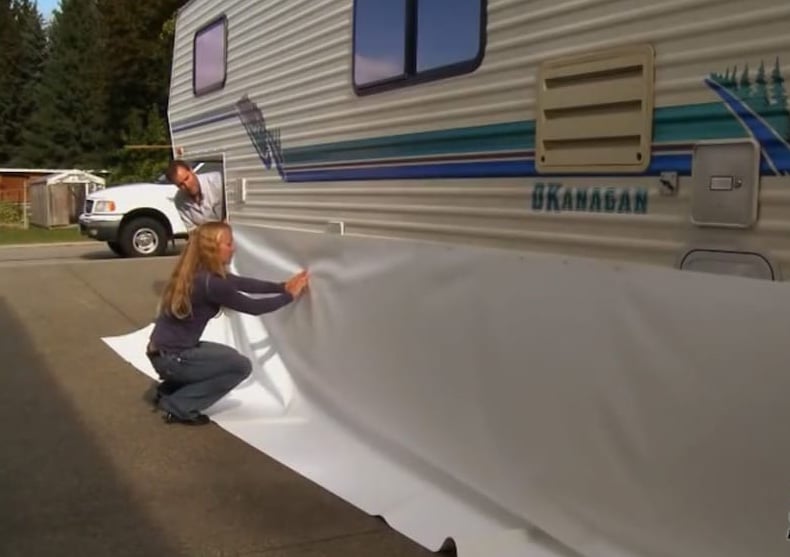
Installation Process of RV Skirting
- Measure the perimeter of your RV: Before spending lots of money on your new RV skirting, be sure to accurately and precisely measure the perimeter of your RV to ensure you order the correct amount of material. Be sure that you measure the height that your skirting will be installed, as there are variations in most RV designs as you go higher or lower on the exterior.
- Assemble the necessary tools: Likely tools that you will need are a tape measure, a drill, a hammer, a staple gun, a utility knife, and an extra set of hands is priceless.
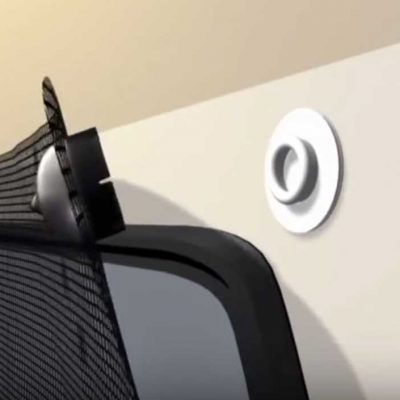
- Install the mounting hardware: Mounting hardware is used to attach the skirting to the RV. Install the mounting hardware and follow the manufacturer’s instructions before starting. Some will require drilling into the exterior of your siding, while others, such as the RV Skirting Kits sold by EZ Snap, use a powerful yet removable adhesive that does not require you to drill into your RV.
- Cut the skirting material to size: With your tape measure, determine the required length of the skirting cloth before cutting it to size. With a utility knife, trim the fabric to the proper length.
- Install the skirting material: Attach the skirting to the mounting hardware starting at one RV corner. Pull the skirting tight and secure it to the hardware. Continue this process until you reach the end of the RV.
- Trim the excess skirting material: Use a sharp utility knife to trim any leftover skirting material. Consider saving larger pieces to use as patches for future repairs and wear the proper PPE to stay safe while cutting your skirting material.
Maintenance Tips
- Clean regularly: Regularly cleaning your RV skirting (and your RV itself) will significantly prolong its lifespan. Use a soft-bristled brush and hose to remove dirt and debris from the skirting. Avoid harsh cleaning chemicals as they may damage the material; mild soap is best. Check with the manufacturer for their recommendations.
- Check for wear and tear: Inspect your skirting for any signs of wear and tear; if you notice any holes or tears, be sure to repair them immediately to prevent further damage to your skirting and the underside of your RV.
- Protect from UV exposure: UV rays can cause damage to your RV skirting over time. To prevent this, consider applying a UV protectant to the skirting material and storing it in a cool, dry place when not in use.
- Store properly: When not in use, be sure to store your skirting in a dry, cool place away from pests. Avoid exposing it to direct sunlight or extreme temperatures, as this can cause damage to skirting over time.
Cost of RV Skirting
- Hard-sided skirting. The cost of this kind of RV skirting, which ranges from $800 to $2,000, makes it the priciest choice. The price varies according to the materials used, the RV’s dimensions, and customizing options.
- Soft-sided skirting. Costs for this sort of RV skirting range from $400 to $800 on average and up to $2000 for higher-quality alternatives like the RV skirting kits provided by EZ Snap. These are less expensive than the hard-sided version and often considered the most efficient skirting based on cost: effectiveness. The size of the RV and the materials used, like canvas or polyester, have an impact on the price.
- DIY skirting. This is, of course, the most economical choice because you can literally make the skirting yourself out of anything you have lying around; plywood, tarps, and foam insulation are common choices. Depending on the materials used, the ability to source used or recycled materials, and the size of the RV, the price of this option could realistically range from $50 to $800.
Common Mistakes to Avoid When Installing RV Skirting
- Not measuring accurately: One of the most common mistakes when installing RV skirting is not measuring accurately. Measure your RV’s dimensions and add just a few inches to your measurements to ensure a perfect fit and accommodate materials that may shrink or expand with temperature variations.
- Choosing the wrong material: Choosing the inappropriate material for your RV skirting can cause problems such as mold, mildew, and tears. Be sure to select a material suitable for the climate and weather conditions where you will be using your RV.
- Not securing the skirting properly: It is crucial to connect it firmly to the RV to prevent it from falling off or blowing away in the wind. Use secure clamps, zippers, or straps to hold the skirting in place.
Environmental Impact of RV Skirting
Using vinyl RV skirting can have a positive environmental impact over time by improving the energy efficiency of individual RVs. By reducing air infiltration and blocking drafts, vinyl skirting can keep an RV cooler in the summer and warmer in the winter. As a result, there is far less of a need to run your heater or air conditioner, resulting in lower energy consumption and fewer carbon emissions. Moreover, vinyl skirting can aid in shielding the underbelly of the RV from the weather, extending the vehicle’s life, and lowering the need for replacement parts, all of which reduce waste and environmental effects.
Regulations for RV Skirting
State or country-specific regulations or guidelines for RV skirting may apply, so it is essential to research the rules in your area before installing skirting. Regulations may cover factors such as materials used, height, and other requirements for installation. Compliance with these regulations is necessary to avoid penalties and ensure the safety of the RV.
Maintenance and Care
Regular maintenance and care are essential for ensuring the longevity of your RV skirting. Different types of RV skirting require additional care and maintenance methods. For example, soft-sided skirting requires regular cleaning to prevent mold and mildew buildup. In contrast, hard-sided skirting requires occasional repairs and painting to maintain its appearance.
Here are some tips for maintaining and caring for your RV skirting:
- Clean the skirting regularly to prevent mold and mildew buildup.
- Repair damages promptly to avoid further damage.
- Store the skirting properly (and dry) when not in use.
- Follow the manufacturer’s instructions and read thoroughly before starting.
- Keep a low-wattage lightbulb under the RV at night to deter rodents and other pests from building nests.
Conclusion
RV skirting is a valuable investment for any RV owner looking to improve their comfort and efficiency. With improved insulation, reduced energy bills, and protection from pests and debris, RV skirting can enhance the RV living experience.
When choosing RV skirting, it is essential to consider factors such as climate, budget, material quality, and RV type. In addition, researching and comparing different types and brands of RV skirting can help make an informed decision.
Proper installation and maintenance are essential for ensuring the longevity and effectiveness of RV skirting. Following the manufacturer’s instructions and avoiding common installation mistakes can prevent damage and provide proper insulation.
In addition, understanding state or country-specific regulations and guidelines is vital to avoid legal issues and ensure compliance.
Investing in RV skirting and maintaining it can provide years of comfort and energy savings for RV owners.
Sources
- “Do You Need RV Skirting This Winter?” by Drivin’ & Vibin’ https://drivinvibin.com/2020/11/25/rv-skirting/
- “The Benefits of Putting on a Skirt” by SunCruiser https://suncruisermedia.com/Home/resources/benefits-of-putting-on-a-skirt/
- “RV Skirting for Winter Camping” by Boundless Bakers https://www.mortonsonthemove.com/rv-skirting/
RODENT EXCLUSION TECHNIQUES by National Park Service https://www.ehs.ucsb.edu/sites/default/files/docs/eh/ihrodentexclusion.pdf

 Image by
 Image by
 Image by
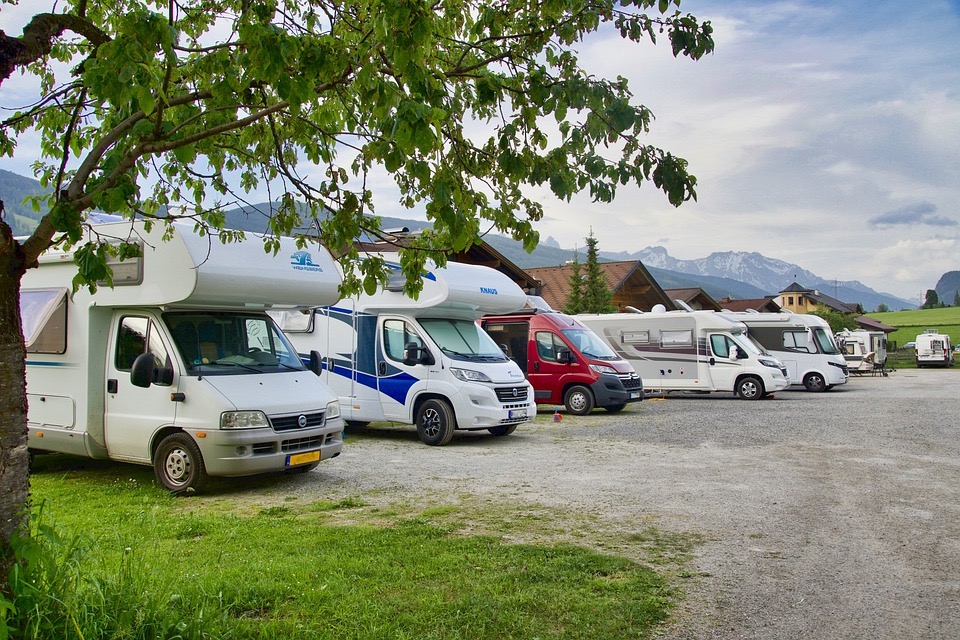
 Image by
 Image by


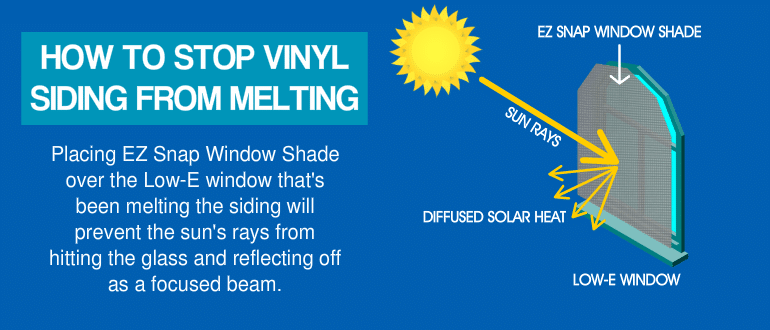


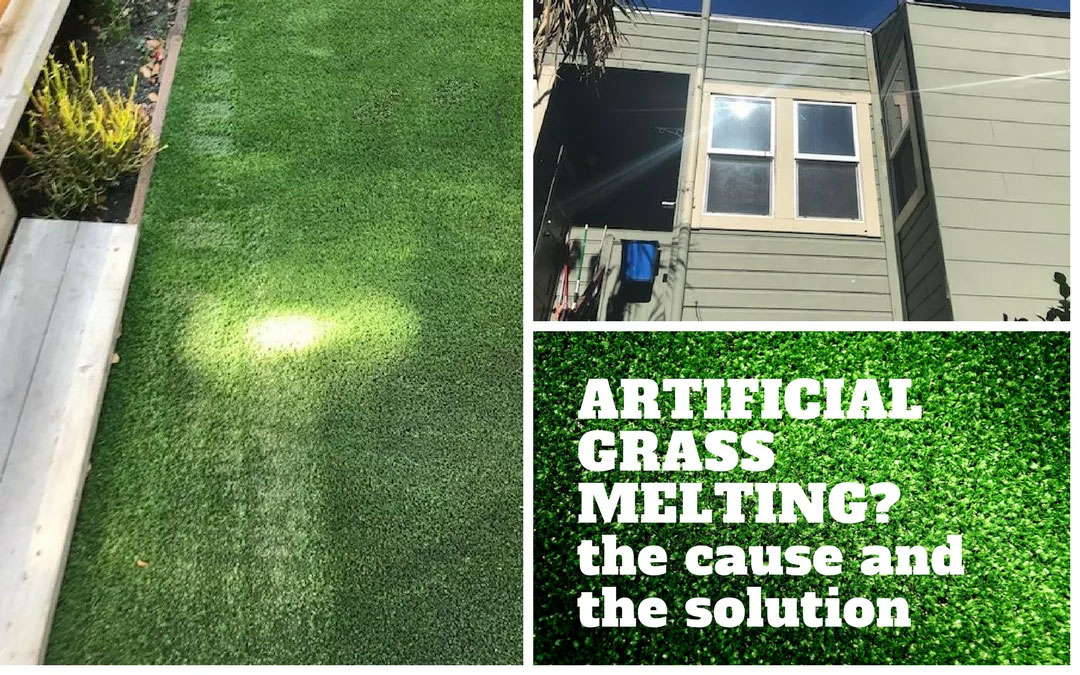


 Whats the solution??
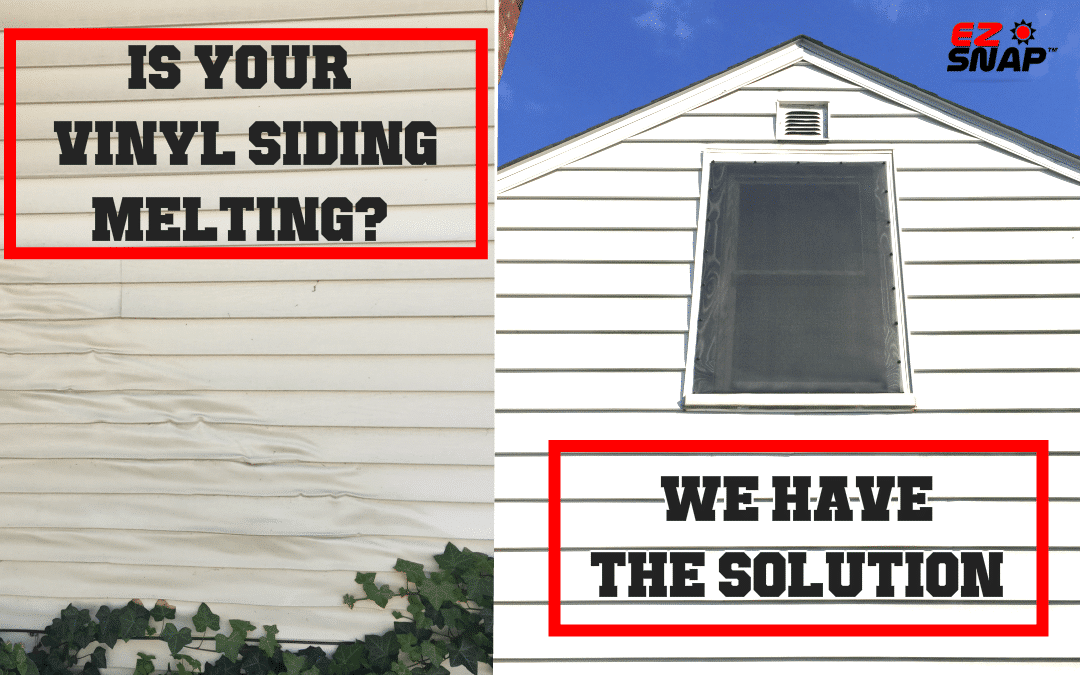
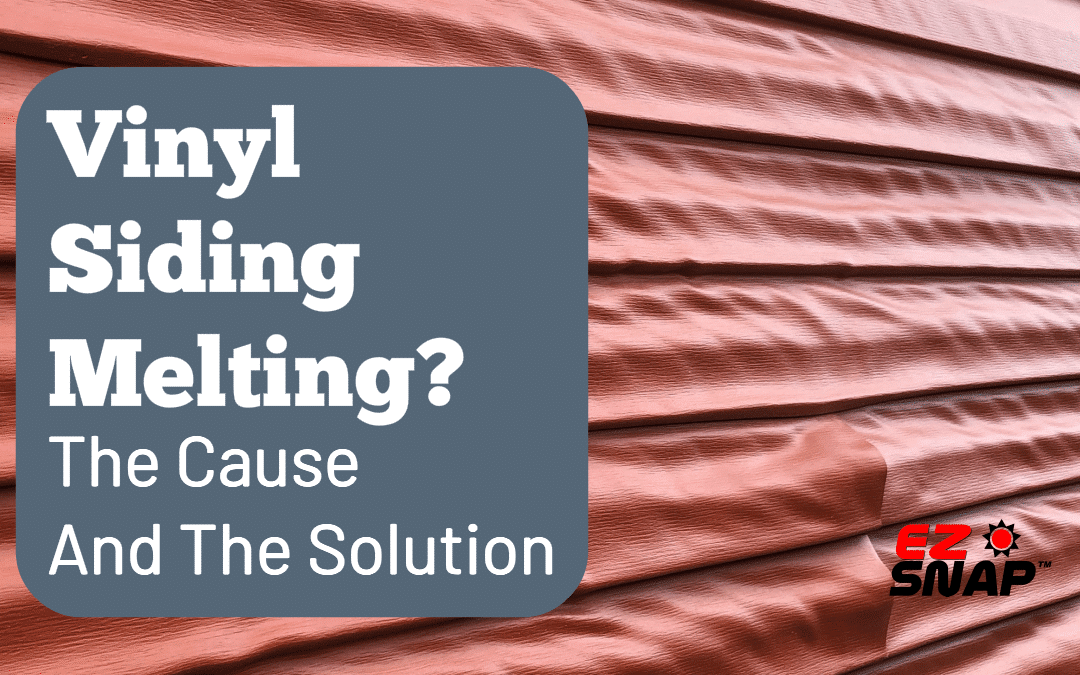
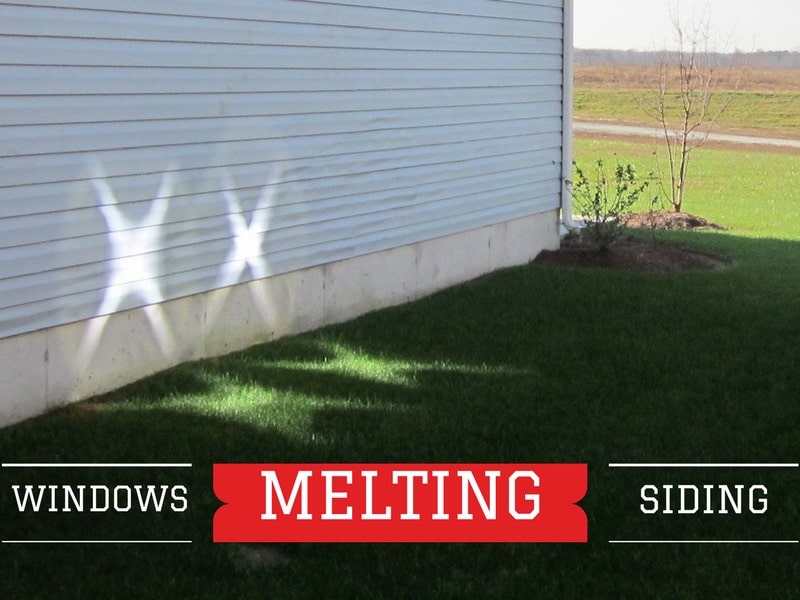
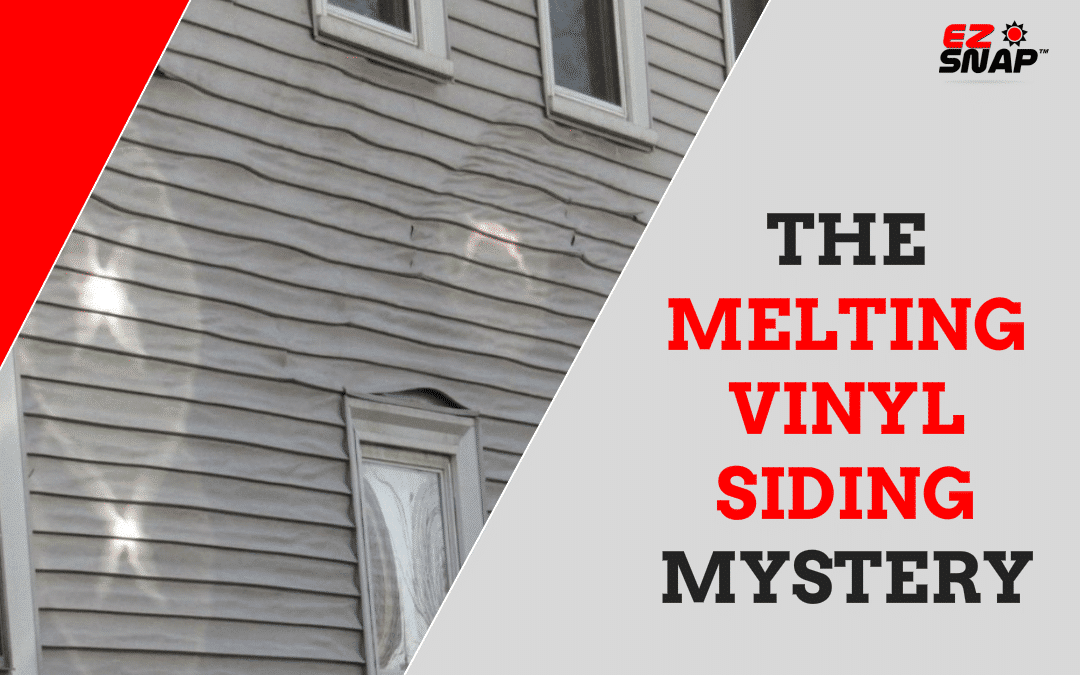
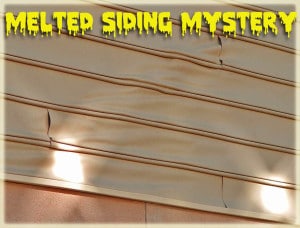
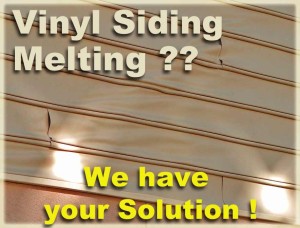 What is causing the vinyl siding to melt and warp?
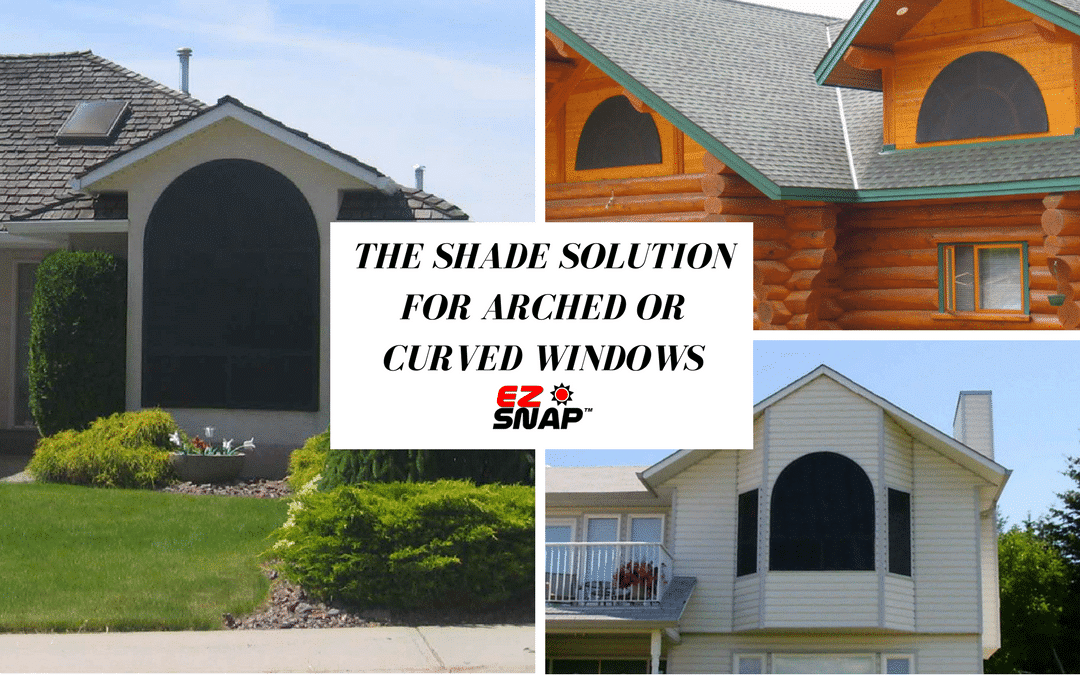
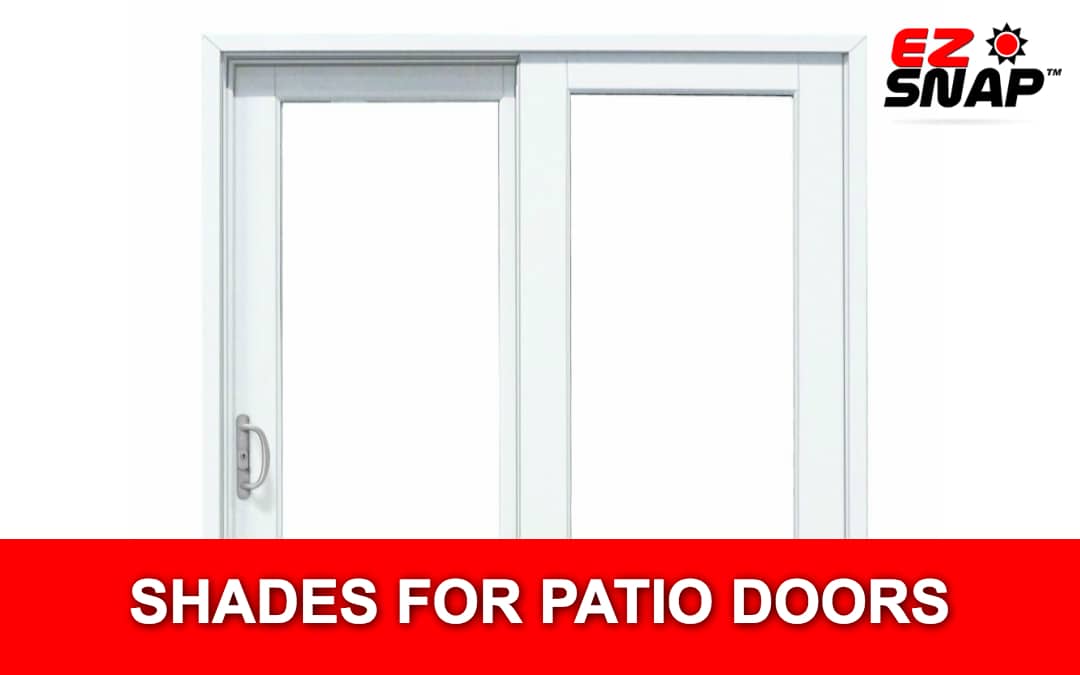
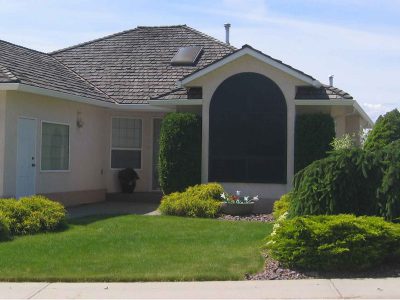 EZ Snap Innovations has developed the perfect solution to providing shade to any shape of window, curved, arched, or even round.

 EZ Snap is now on Twitter.
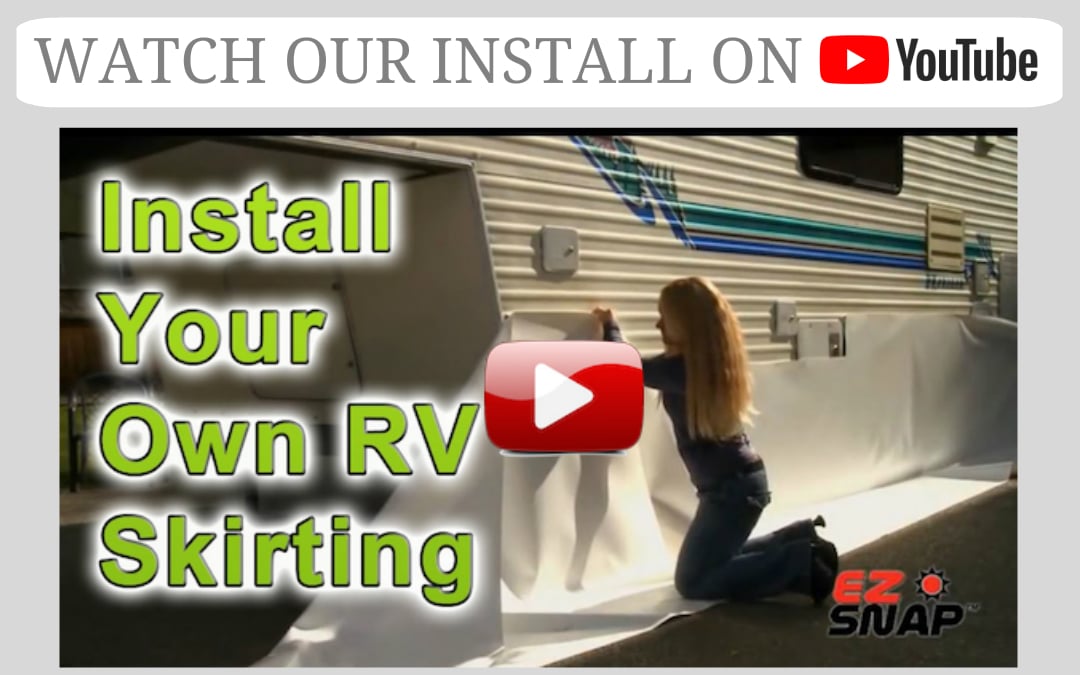
 EZ Snap’s
 Aluminet is an agricultural grade shade cloth available from various farm and garden suppliers. Gardeners and home owners have used it for small gardening or shading projects before, attaching it with the EZ Snap fastener system. We thought we would give a more though description of how to install Aluminet shade cloth on your smaller projects. EZ Snap does not sell or distribute Aluminet, instead we use the EZ Snap optical grade shading mesh. Aluminet is very difficult to see through and so does not make a very good window shading product, unlike the EZ Snap shading mesh.

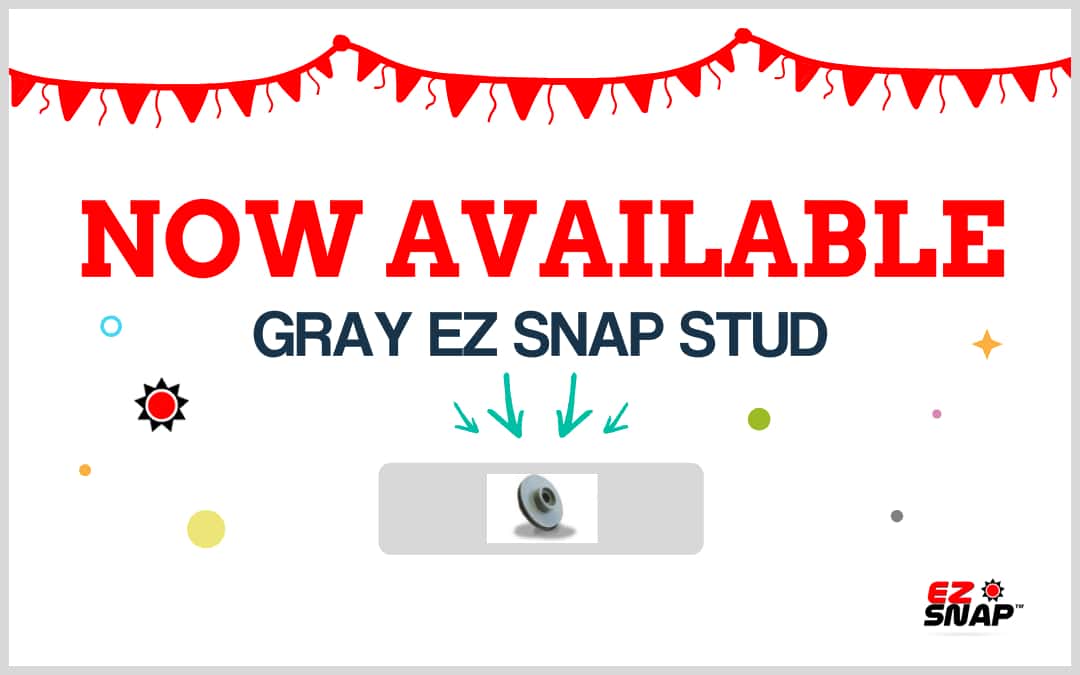
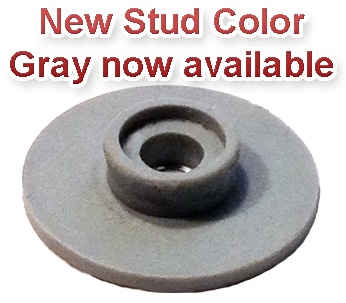 We have just added the color gray to our line of EZ Snap adhesive studs.
 If sun light is entering your home, there is the risk of it fading your flooring carpeting or furniture.

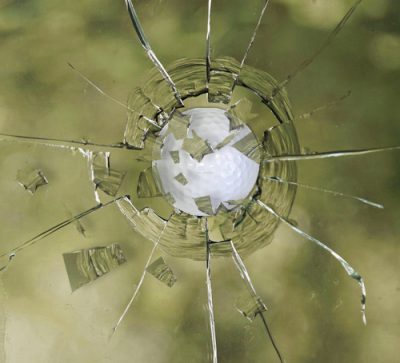 One method of reducing the likelihood of having windows damaged by golf ball strikes is to install an exterior shading screen over the window. The screen acts as a barrier in front of the glass, slowing down and reducing the speed of the ball. In most cases this prevents the glass from being hit or breaking. If your really close to the T-box, you can have your contractor build you an additional frame around the window to increase the distance the screen is mounted from the glass, thereby increasing amount of force your screen can stop before the ball impacts the glass.

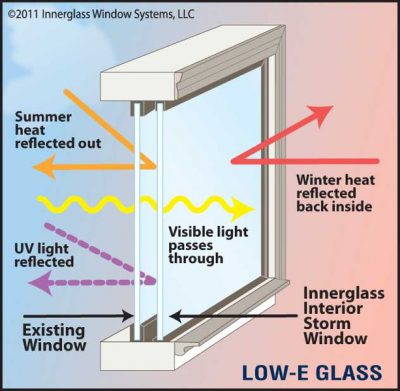
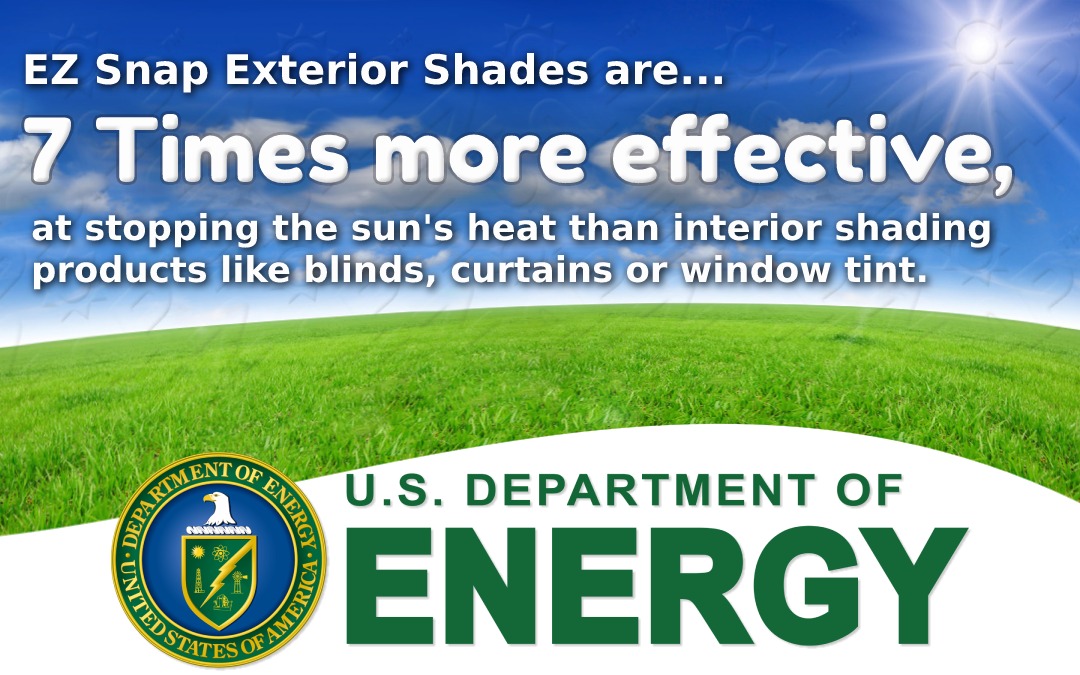
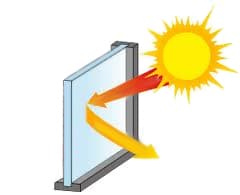 SHGC stands for Solar Heat Gain Coefficient. This number is commonly used as a guide line for rating the energy efficiency of windows and their various shading treatments.
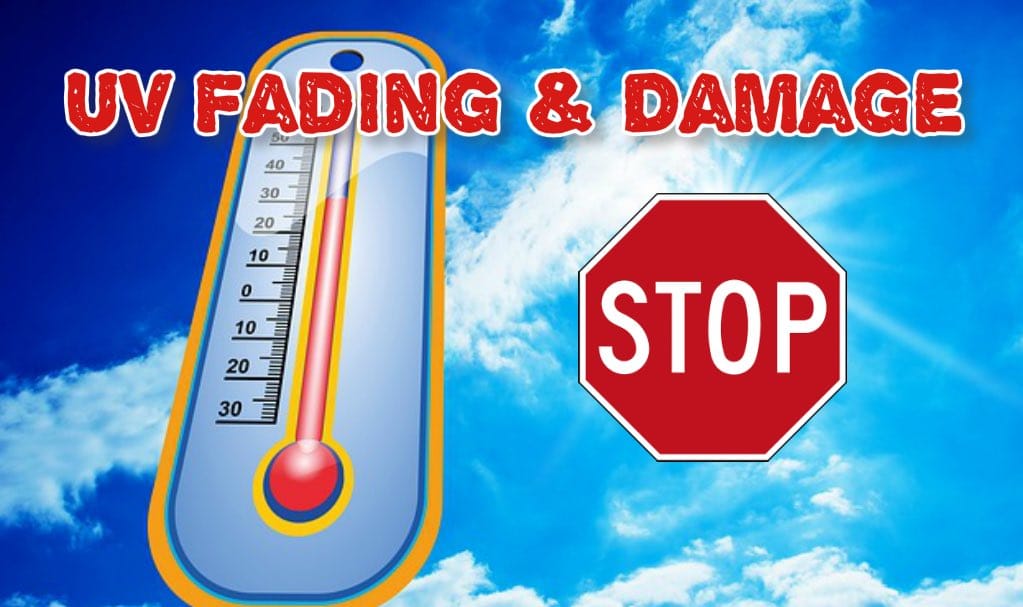
 The sun is a very powerful force indeed. Especially when you consider the earth only receives about one two-billionth of the sun’s total energy. We have all experienced the power the sun has to fade and damage,whether it’s the paint on your car or your favorite chair.


 1. Privacy:
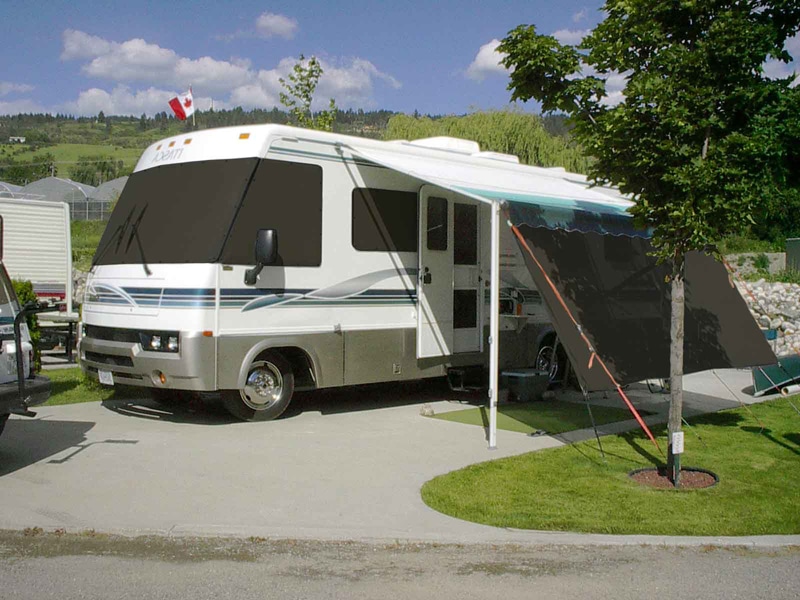
 There is a better way. By simply adding exterior
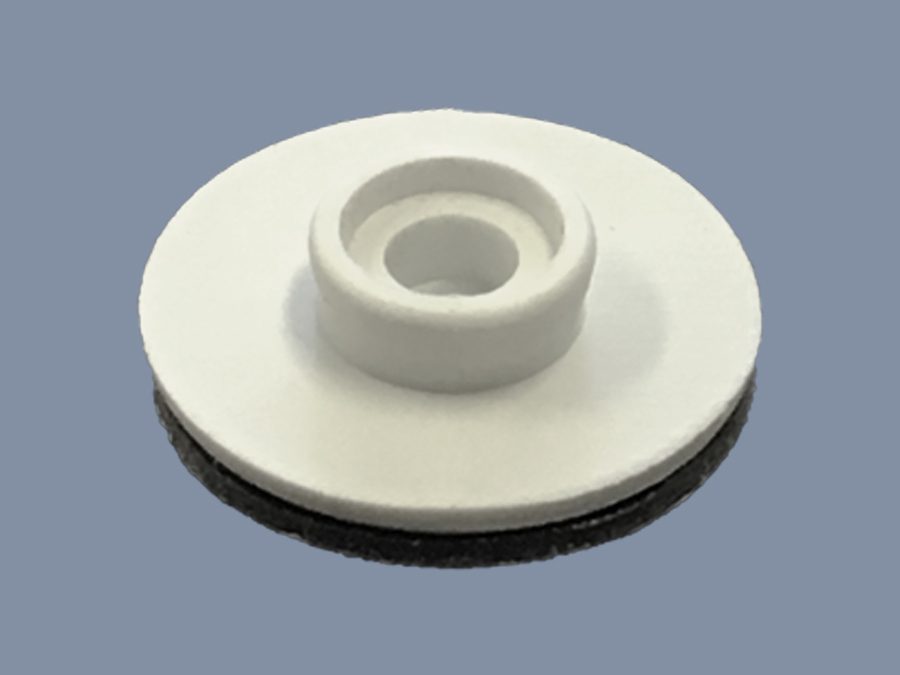
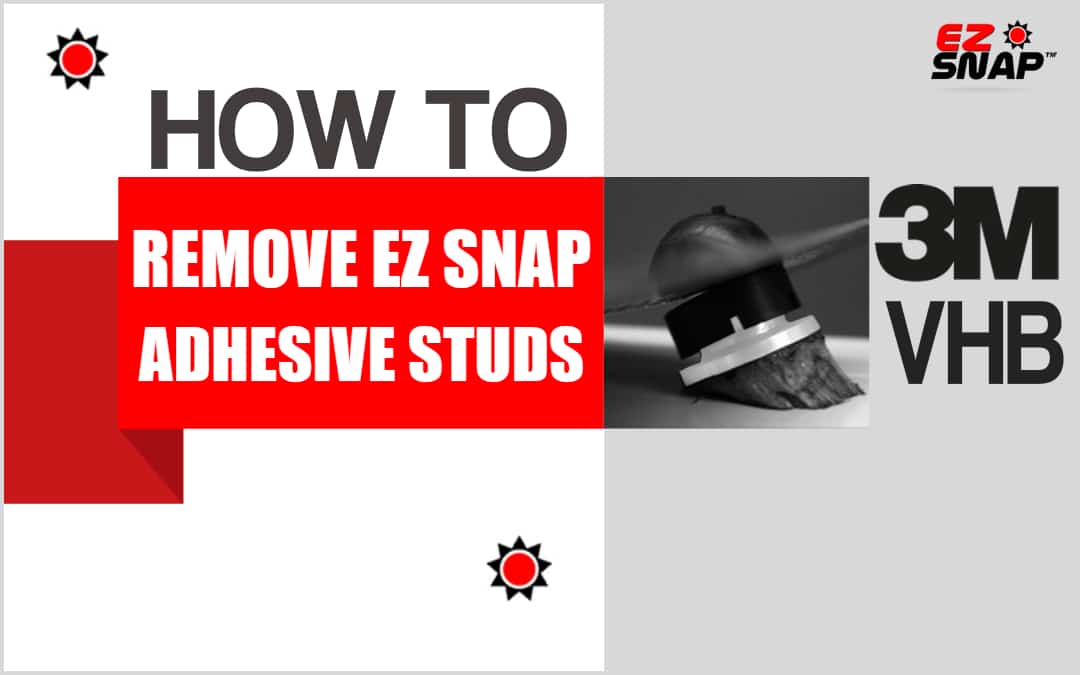
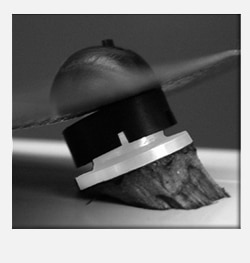
 We have worked with 3M™ on this stud to ensure that it will stand up to extremely hot or cold temperatures, as well as severe winds. As always, this
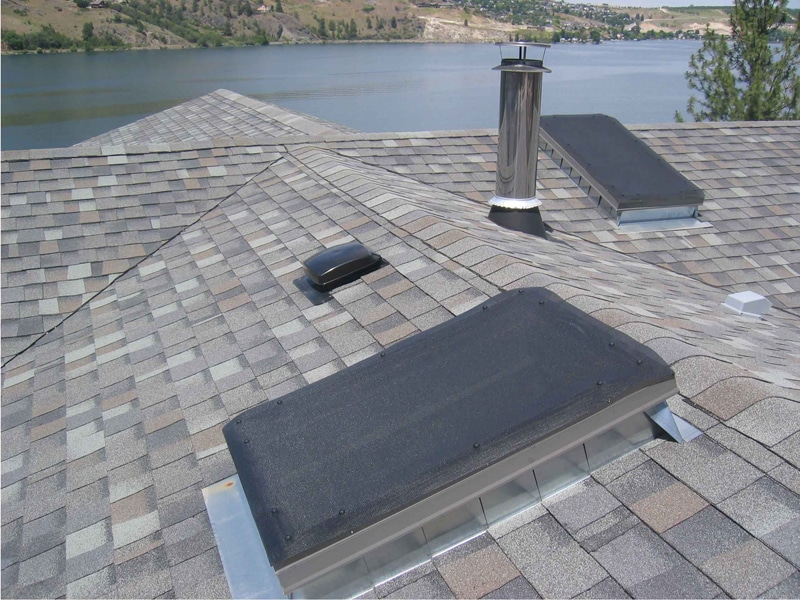
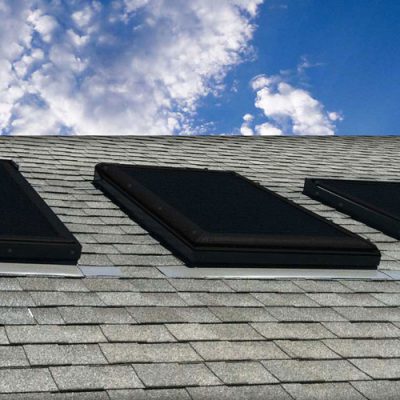 Even though skylights tend to be much smaller in size than the typical windows, they can easily allow too much heat and light into the home. This is due to the fact that they are placed on the roof, usually directly facing the sun. This location and angle allows the sun’s heating rays to directly enter the home, usually for most of the daylight hours. Interior blinds are helpful at reducing the excessive light that enters, but they do little to stop heat. As with any shade or blind to be effective, they must be installed on the outside of the skylite or window.
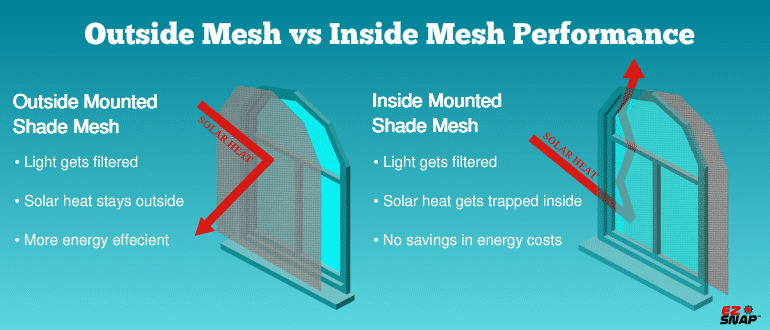
 Let’s compare.